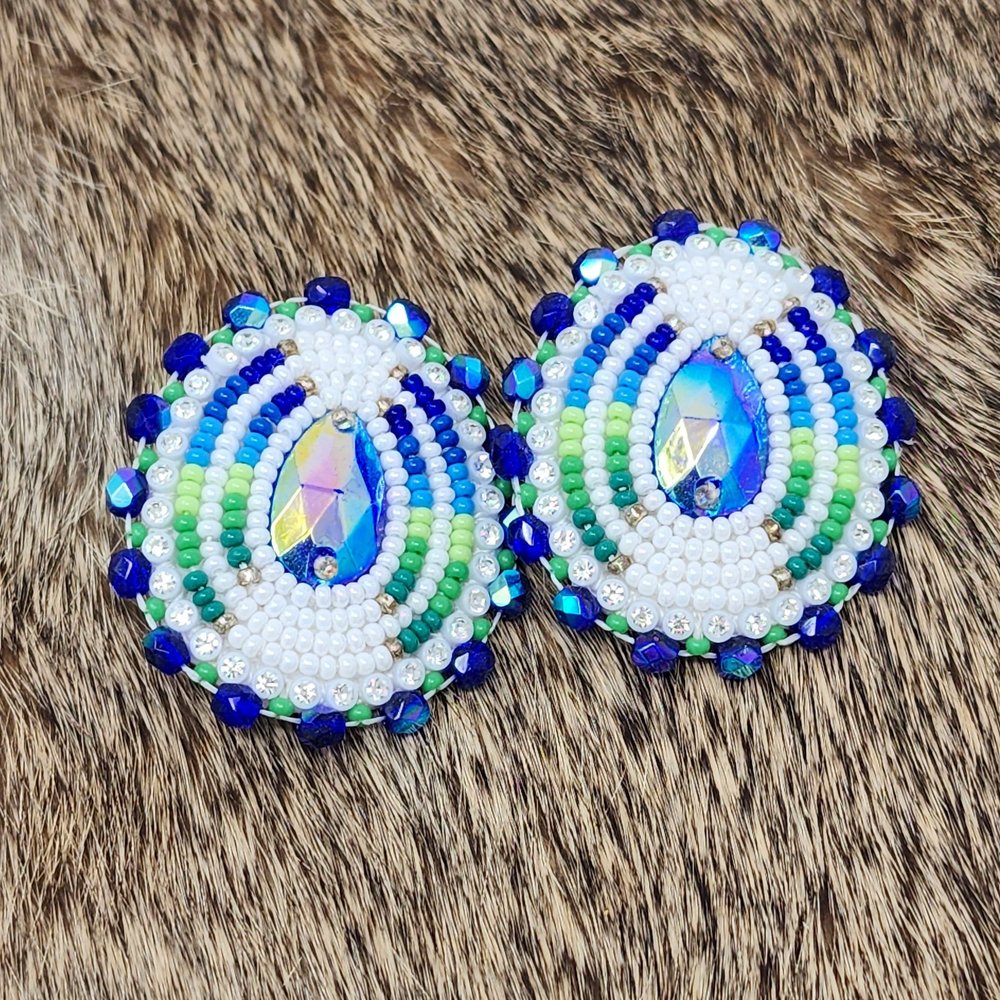
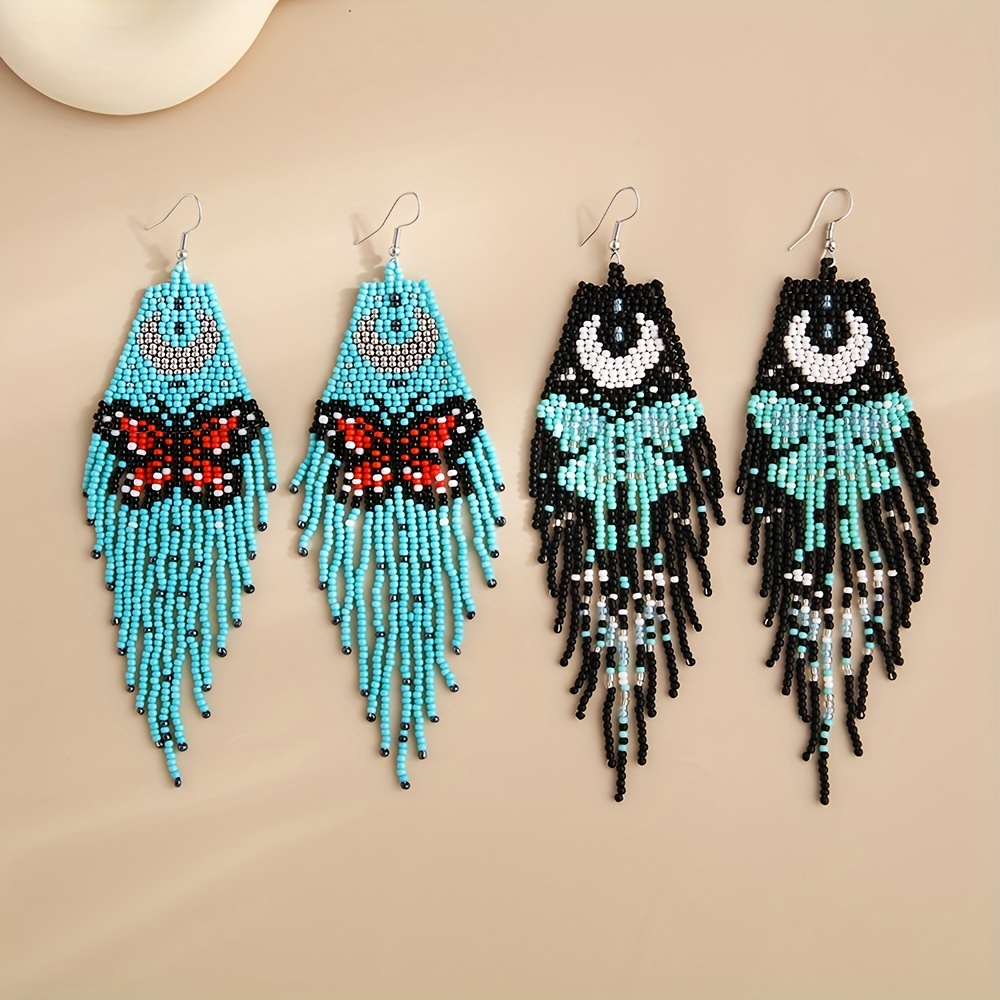
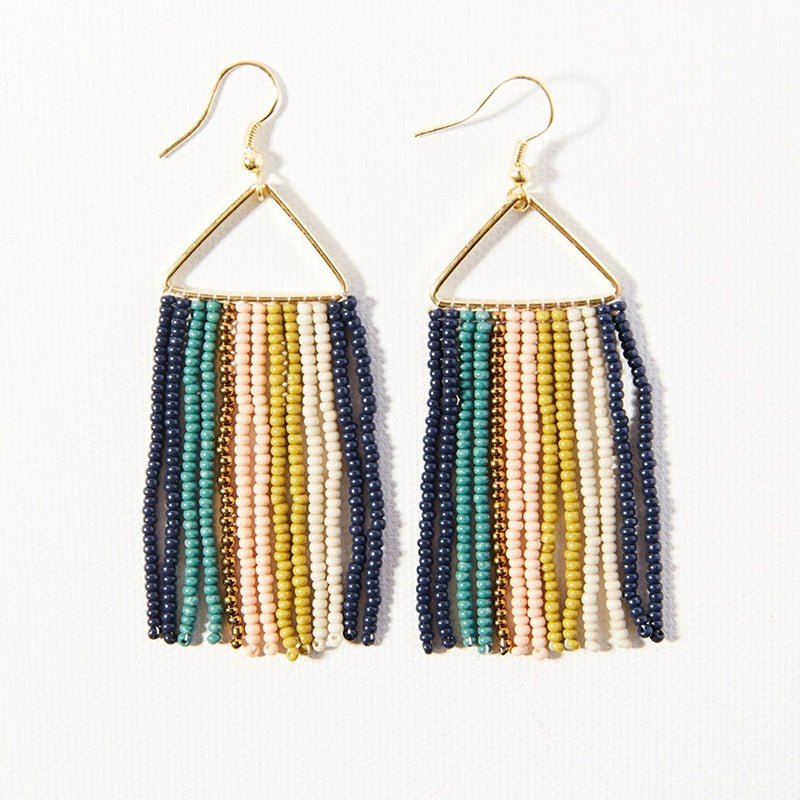
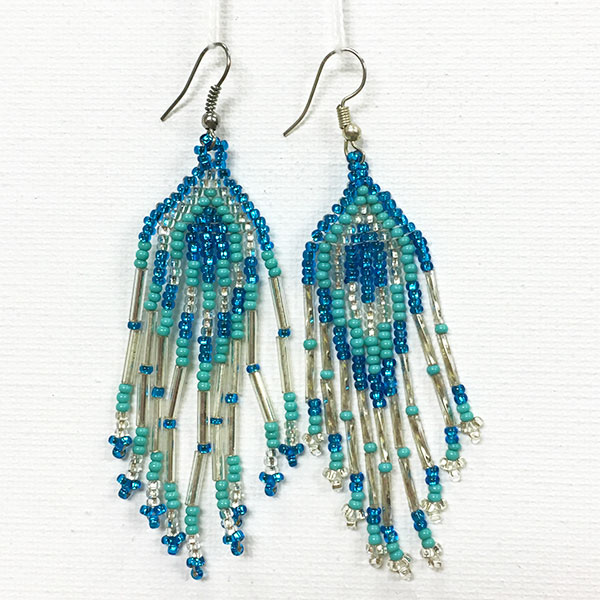
Creating your own beaded earrings offers a fun and rewarding experience. Whether you are an experienced crafter or a novice, diving into the world of beading can be a creative outlet that results in beautiful, handmade jewelry pieces. In this comprehensive guide, we will walk you through the essential steps and provide valuable tips to perfect the art of beading earrings. But before you get started, it is important to understand the basics of beading and the materials needed to craft these gorgeous accessories.
Basics of Beading Earrings
Materials You Will Need
To begin, gathering all the necessary materials is crucial. The most obvious tools include beads and earring findings. Beads come in various shapes, sizes, and materials, including glass, wood, and metal. Each type offers a unique aesthetic. Additionally, earring findings are essential components; these include ear wires, posts, and hoops.
Another important tool is beading thread or wire, which holds the beads together. Threads come in multiple strengths and finishes, like nylon and silk. On the other hand, beading wire is typically more rigid, which can be advantageous for certain designs. Don’t forget about the importance of having pliers and scissors on hand. Chain-nose pliers and round-nose pliers will be your go-to tools for manipulating findings and creating loops.
Selecting the Right Beads
Choosing the right beads involves considering your design’s style and functionality. Glass beads are widely used because they come in many vibrant colors and shapes. They are also durable and relatively affordable. For a more organic appearance, consider wooden beads; they bring a natural, earthy feel to your earrings. Metal beads, often used as spacers, add a polished touch and can highlight focal beads.
When mixing and matching your beads, think about the overall color scheme and how the beads will feel against the skin. Consider the weight, as heavy earrings can be uncomfortable to wear. Crystal beads offer an elegant sparkle, but they can be costly and require careful handling. Plastic beads are the least expensive option, but they might not offer the same luster as other materials.

Designing Your Earrings
Sketch Your Ideas
Sketching your designs beforehand can be incredibly helpful. Start by noting the types of beads and findings you plan to use. Sketch several different configurations, focusing on the shapes, sizes, and colors of the beads. Be open to making changes to your initial ideas.
Another good practice is to use graph paper for beading sketches. This will give you a structured way to visualize the size and placement of each bead. Use colored pencils to represent different beads in your sketches. This simple step contributes significantly to executing a polished final product.
Consider the Pattern and Layout
Once you have your sketch, think about the pattern and layout of the beads. Graduated patterns, where beads increase or decrease in size, create a balanced look. Symmetrical layouts are particularly important for earrings, as they ensure that each earring in the pair matches perfectly.
On the other hand, asymmetrical designs can offer a unique and eye-catching result. For beginners, starting with simple designs is advisable. As you grow more comfortable, you can experiment with more complex patterns and layouts. Trust your artistic instinct but also consider the practical aspects, such as how the earrings will hang.
Assembling Your Earrings
Stringing the Beads
Now it is time to bring your designs to life. Begin by cutting a suitable length of beading thread or wire. If you are unsure, cut a bit more than you think you’ll need; excess can always be trimmed off later. Thread your beads according to your design sketch.
Don’t forget to leave enough thread or wire at both ends for attaching the findings. Tools like bead stoppers can hold beads in place while you work. As you string your beads, continually check your work to ensure everything aligns with your sketch. If you make a mistake, don’t be afraid to start over. Taking your time ensures a refined finish.
Attaching Findings
Attaching findings is where your pliers will come into play. There are different methods depending on the type of finding you use. For ear wires, use your chain-nose pliers to open and close the loop gently. Place the end of your beaded thread or wire into the loop, and then secure it tightly.
When using posts or hoops, the process can be a bit more involved. Follow any specific instructions that come with these findings. Always double-check that each finding is securely attached to prevent the beads from falling off. Use crimp beads to secure your design, particularly with beading wire. Crimping ensures a sturdy attachment.

Adding Finishing Touches
Tidying Up Loose Ends
After your earrings are put together, it is important to tidy any loose ends. Use your scissors to trim excess thread or wire carefully. Ensure no sharp ends are sticking out, as these can be uncomfortable or even dangerous. Double-check all your connections.
A final touch could involve adding small dabs of craft glue to secure knots and connections. However, be mindful of using too much glue, as it can create an unsightly finish. Depending on your beads and findings, a small amount of nail polish can also serve to secure knots invisibly.
Final Quality Check
Before declaring your project complete, give your earrings a thorough quality check. Examine each connection and attachment point to ensure it is secure. Try on the earrings to confirm they hang correctly and are comfortable.
Look at your earrings from multiple angles to catch any imperfections. If you notice any issues, take the time to correct them. The goal is to produce a piece that you can wear confidently. You can also seek feedback from a friend or family member to get another perspective on your work.
Tips and Tricks for Beginners
Start Simple
For beginners, the key to mastering beading earrings is starting simple. Choose straightforward designs and fewer bead varieties at first. This will help you become familiar with the process without becoming overwhelmed.
As you gain confidence, progressively experiment with more complex designs. Keep a notebook of your creations, documenting what worked well and what did not. This will be an invaluable reference as you expand your skills.
Learn from Mistakes
Do not be disheartened by initial mistakes. Each error is an opportunity to learn and improve. If a design doesn’t work as planned, analyze what went wrong and think of how you could approach it differently next time. Experimentation is part of the creative process.
Join beading communities online or locally. These groups can offer support, feedback, and inspiration. Watching tutorials and reading articles can provide new techniques and ideas, helping you refine your craft.

Advanced Techniques
Adding Charms and Pendants
Once you are comfortable with basic beading, consider incorporating charms and pendants into your designs. These elements can act as focal points, giving your beading earrings a unique and personalized touch. The process of attaching charms or pendants is similar to attaching findings.
Use jump rings to secure them to your design. Ensure the charms and pendants are proportionate to the rest of the earrings to maintain balance. You can also experiment with layering multiple charms for a more complex look.
Mixing Media
Advanced crafters might enjoy mixing different media. Combining beads with leather, fabric, or even polymer clay can lead to stunning results. Blending diverse materials offers endless creative possibilities and helps you stand out. Start by integrating small pieces of another medium into your beaded designs.
As you become more skilled, you will be able to incorporate larger and more intricate elements. Always ensure the additional materials are durable and compatible with the beads to avoid issues down the line.
Conclusion
In conclusion, beading earrings opens up a world of creativity and custom jewelry making. By understanding the materials needed, designing methodically, and assembling with care, you can create stunning and unique pieces. Starting with simple designs and gradually advancing to more complex projects ensures continuous improvement and enjoyment. The key is to learn from each project, embrace the creative process, and not be afraid to experiment with new techniques and materials. Happy beading!
