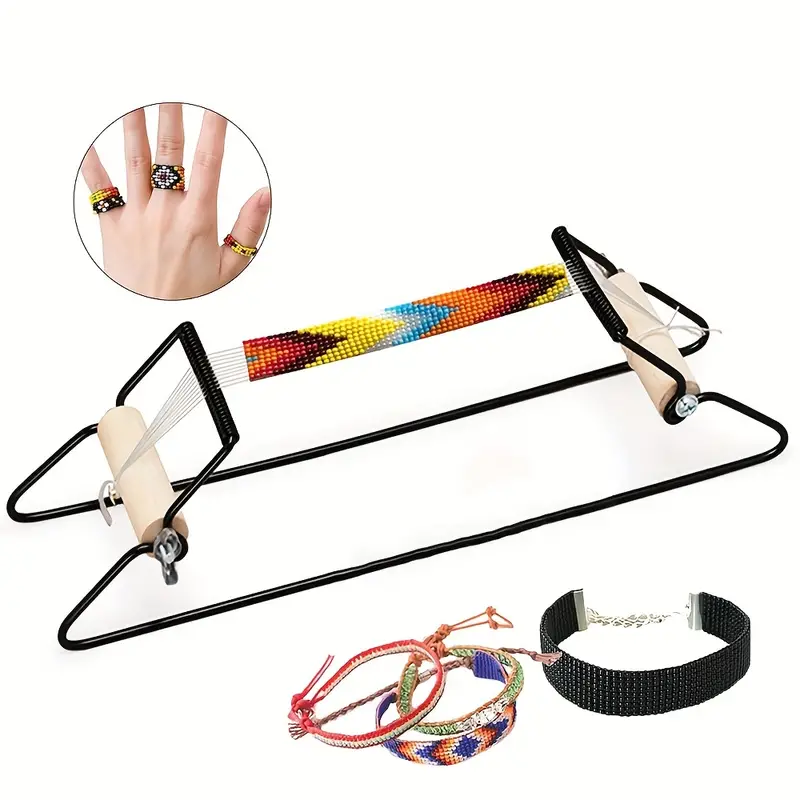
Creating your own beading loom can be an exciting and cost-effective project. Many artisans have a fondness for the beautiful art of bead weaving. However, not everyone wants to invest in pricey equipment. Fortunately, a DIY solution can make this process both fun and accessible. With just a few materials and some creativity, you can craft a custom beading loom that suits your artistic needs. This article will walk you through the steps to build your very own beading loom. It will also provide tips for using your loom efficiently.
Understanding the Basics of Beading Looms
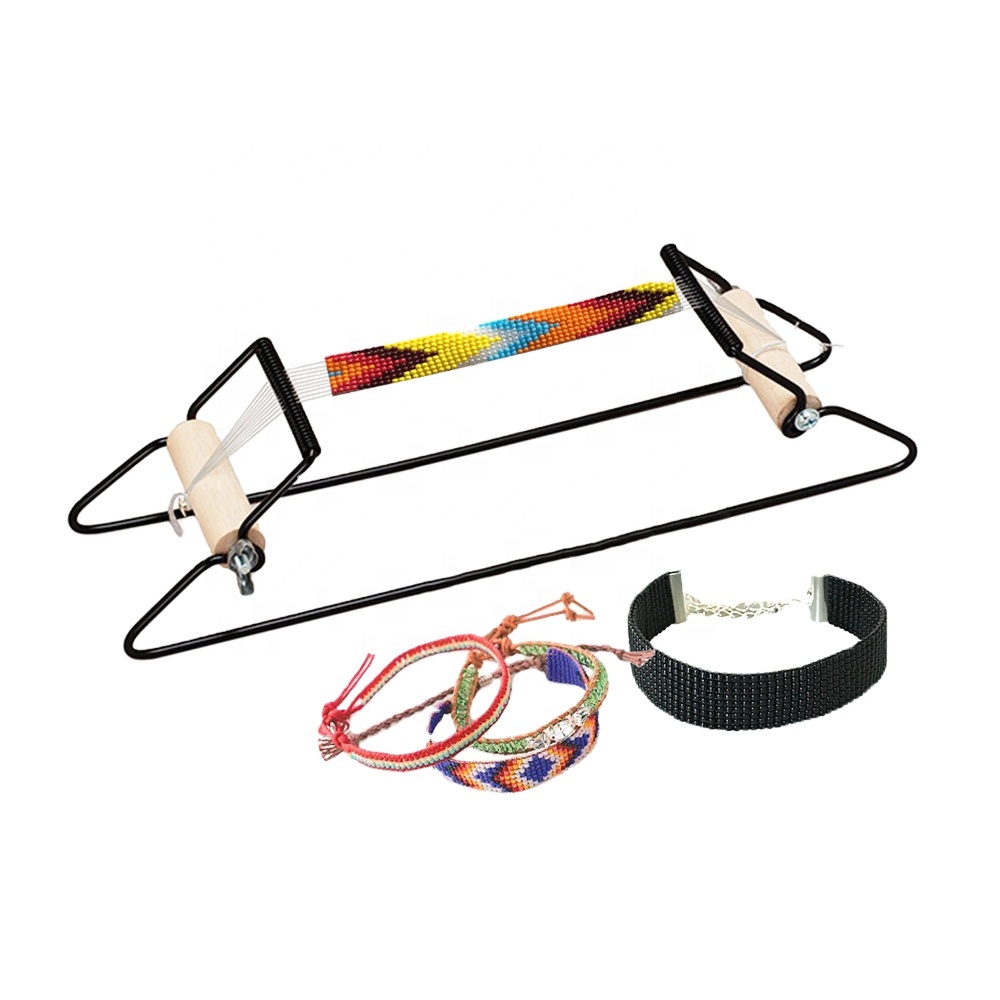
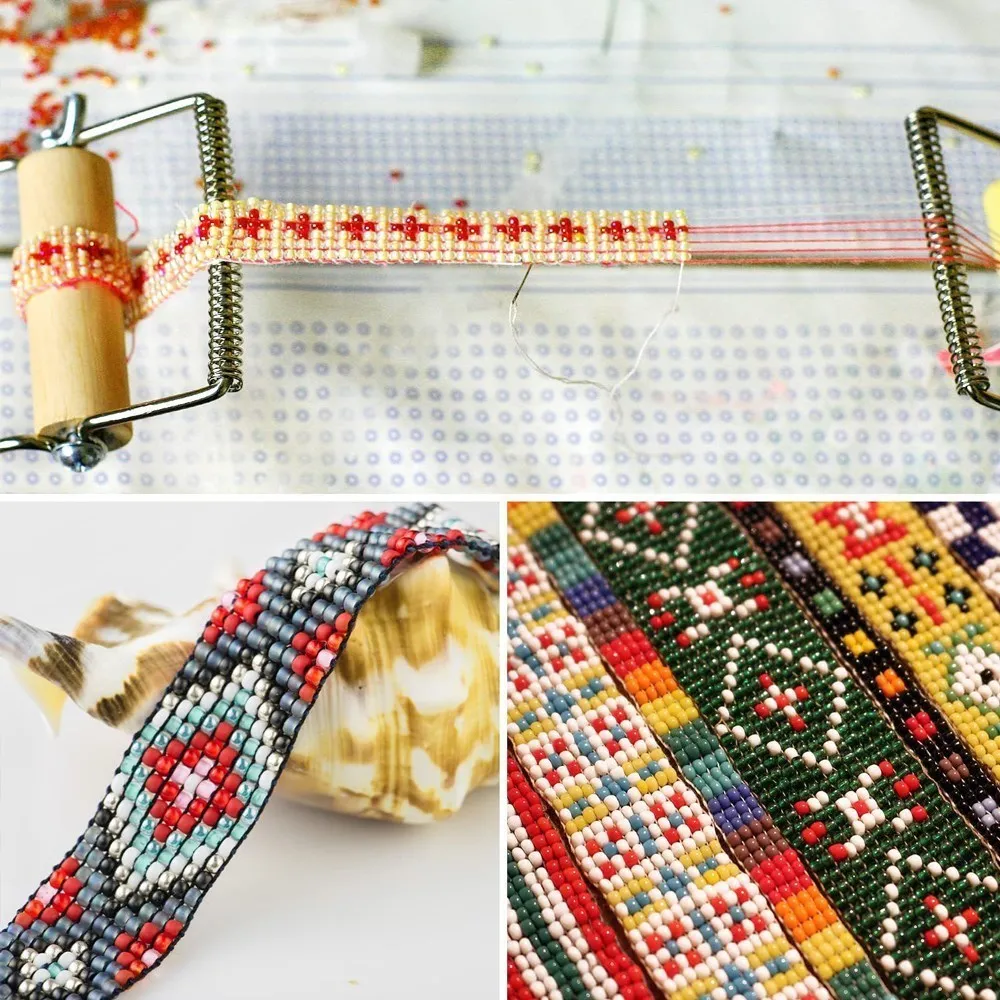
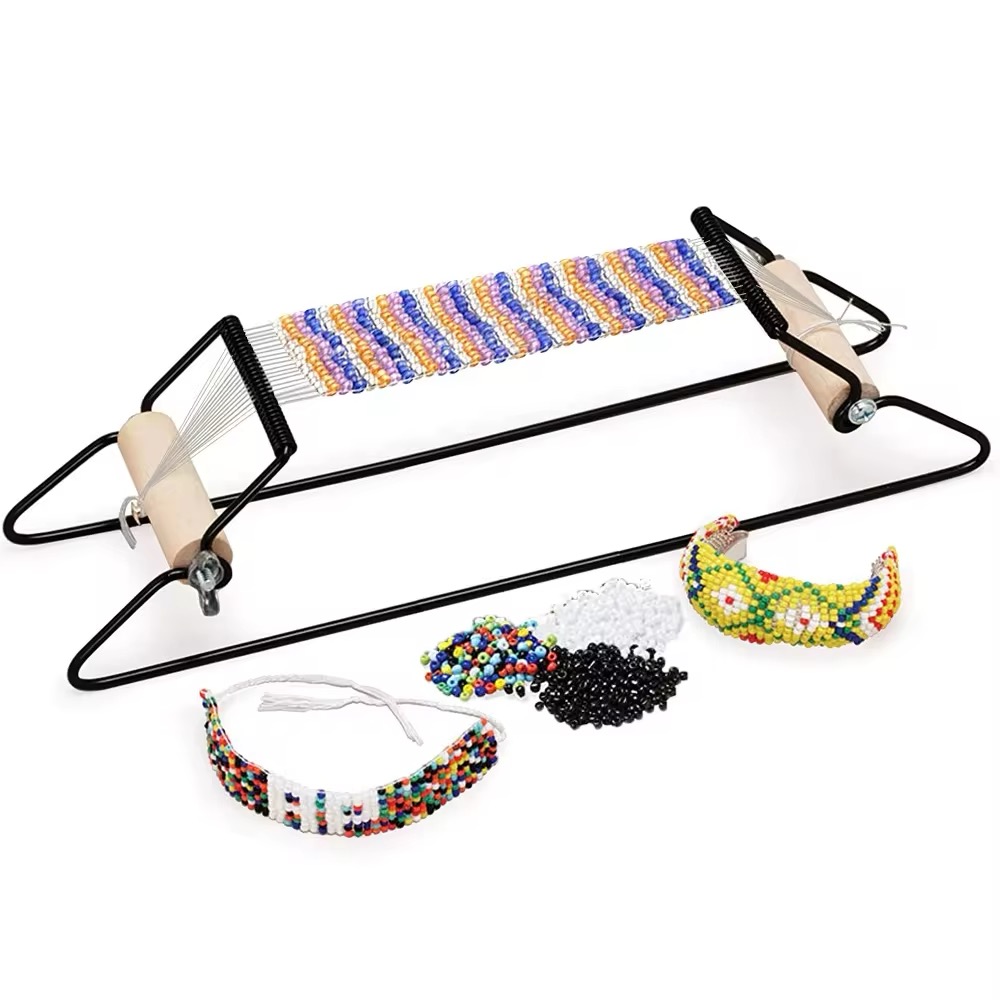
Before diving into the DIY project, it’s essential to understand what a beading loom is. A beading loom is a device that holds beads in place for intricate designs. These looms allow crafters to create stunning pieces of art without losing their beads. Essentially, the loom provides a stable platform for weaving thread among beads, making it easier to create patterns and designs. There are two main types of beading looms: the traditional and the simple frame. The traditional loom offers more functionality, while the frame is easier to build and use for beginners.
Benefits of Using a Beading Loom
Using a beading loom has numerous advantages for jewelry makers. First, it keeps your project organized and manageable. Instead of chasing beads across the table, the loom holds everything neatly in place. Second, looms allow for tighter and more evenly spaced beads. This consistency enhances the overall professionalism of your designs. Third, using a beading loom can significantly speed up your production time. Once you get the hang of it, you’ll find that you can create more pieces in less time. Lastly, it also encourages creativity. With a loom, the possibilities for new designs multiply, inviting you to explore various techniques.
Choosing the Right Materials
When creating a DIY beading loom, selecting the right materials is crucial. You will need a sturdy base, some kind of tensioning device, and spacers to keep the beads in position. A piece of wood can serve as an excellent base. It should be smooth and flat to provide stability. Look for a length of wood that is around two feet long for optimum space. For tensioning, you can use screws, nails, or even a simple twist mechanism with a rubber band. Additionally, find some spacers, which can be small pieces of wood, cardboard, or even thick thread. These act as barriers between your rows of beads, keeping everything aligned.
DIY Steps to Create Your Own Beading Loom
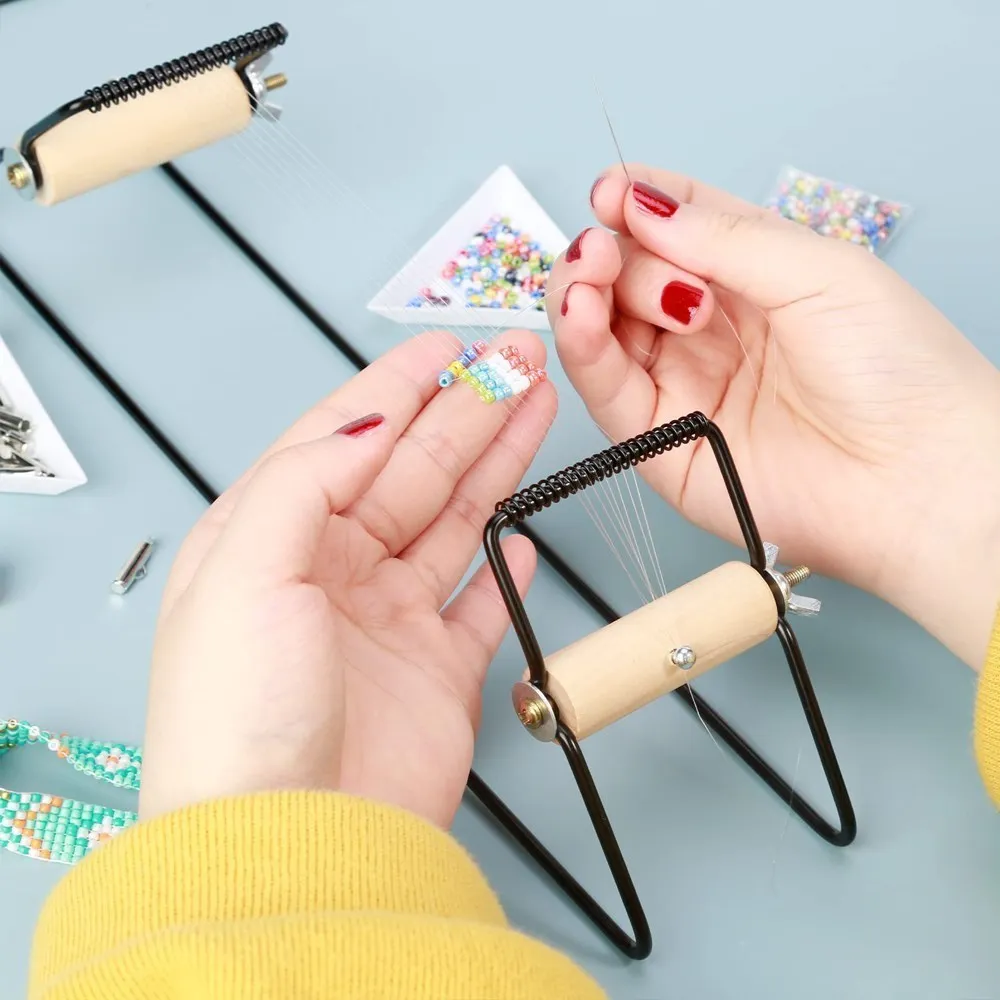
Now that you have a fundamental understanding of looms and materials, it’s time to start creating. Below, you’ll find a comprehensive guide to making your own beading loom.
Step 1: Gathering Materials
Gathering your materials is the first step in creating your beading loom. You will need a small piece of wood (around 2 feet long), screws or nails, and spacers. You might also want to collect pliers, a drill, and a ruler for precise measurements. It’s a good idea to have glue on hand to secure any loose parts. Ensure you have an assortment of beads and thread ready for eventual testing once you finish the loom. A comfortable work environment will also contribute to a successful build. Ensure your workspace is clutter-free so you can focus fully on your project.
Step 2: Cutting the Wood
Once you have all your materials, the next step is cutting the wood. If you ordered pre-cut wood, inspect it to make sure it’s suitable for your project. If you have a cutter, measure the length carefully and cut it to about 24 inches. For the width, a 4- to 6-inch base is typically sufficient to hold your beads and loom mechanics. After cutting, use sandpaper to smooth the edges. This step is essential for preventing splinters during use. A smooth base will also help your loom function efficiently. Always exercise caution when using cutting tools to avoid any accidents.
Step 3: Attaching Tensioning Devices
You must create mechanisms to hold tension along your loom. To do this, drill small holes near both ends of the wooden base. Then, insert screws through these holes. Tightening the screws creates a mechanism that can hold your thread taut. An alternative is using rubber bands stretched between the screws, which can provide enough tension for your thread. Experiment to find the most effective way to manage tension on your loom. This step will significantly affect the quality of your beadwork later. Consistent tension will ensure your beads align perfectly, enhancing the overall look.
Step 4: Incorporate Spacers
After setting up the tensioning devices, you’ll want to add spacers. Spacers keep the beads in their designated rows as you weave. This alignment is crucial for achieving a polished finish. Take your small pieces of wood, cardboard, or thick thread and lay them evenly across the loom. Secure them with glue, ensuring they sit flat against the base. As a rule of thumb, space the spacers approximately a quarter of an inch apart, or adjust based on your bead size. Once they are secure, make sure that they do not wiggle. This stability will enhance the overall ease of beadwork.
Step 5: Testing Your Loom
Once your loom is assembled, it’s time to conduct some tests. Start by threading some robust yarn or wire through your tensioning devices. This will help you understand how well the loom holds tension. Insert some beads and try weaving. Evaluate how easily you can maneuver the beads into place. This testing phase is critical for ensuring that your loom functions as intended. You may need to tweak the tension or reposition spacers during this phase. Take your time to adjust everything until the loom feels right. After testing, your loom should be ready for actual beadwork!
Tips for Effective Use of Your Beading Loom
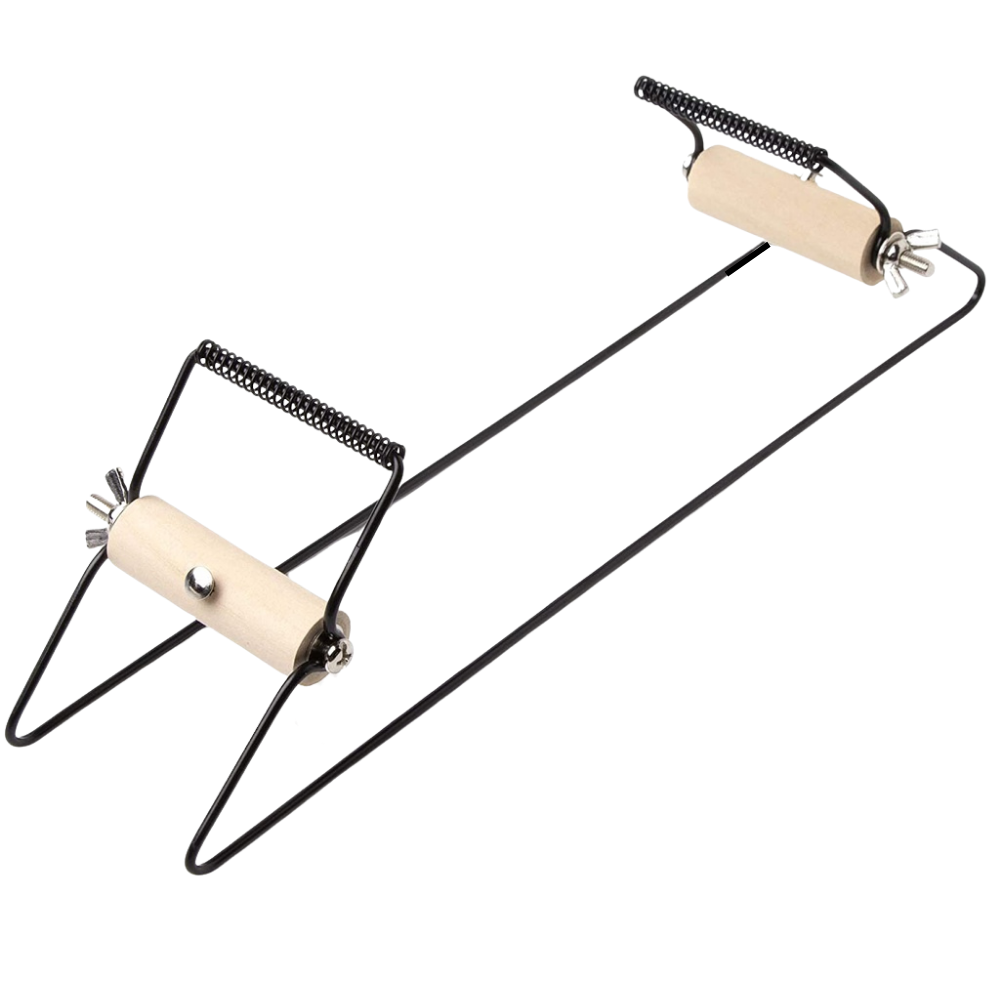
As with any crafting tool, mastering its use requires practice. The following tips can help you optimize your experience with your DIY beading loom.
Organizing Your Beads
Effective organization can make a significant difference in your beading experience. Use small containers or trays to hold your beads, sorted by color or size. This organization will save you time, allowing for quick access to different beads as you work on your design. Additionally, label these containers for even quicker access. Consider positioning your containers in a way that keeps them close to your work area. This setup will maintain an efficient workflow, making the beading process more enjoyable. An organized workspace reduces distractions, enabling you to focus on your artistic vision.
Practice Different Techniques
Once you have become comfortable with your loom, don’t hesitate to experiment with different techniques. Bead weaving offers countless styles, and your loom can adapt to many of them. From peyote to brick stitch, there are numerous patterns to explore. Spend some time learning online about these various methods. Tutorials and videos can provide relatable guidance and help refine your skills. Consider joining an online crafting community where you can share your progress and learn from others. This sense of community will enrich your beading journey, making it all the more rewarding.
Maintaining Your Loom
Proper maintenance is vital for ensuring the longevity of your DIY beading loom. Regularly inspect the wood for any signs of wear or damage. If you notice the spacers becoming loose, glue them back into place promptly. Keep the tensioning devices functioning smoothly by loosening and tightening the screws regularly. It’s also wise to clean the workspace around the loom. A clutter-free area contributes to a smoother crafting process. By caring for your loom, you can continue enjoying it for years to come.
Troubleshooting Common Issues
Even the most seasoned crafters experience challenges when working on their projects. Learning to troubleshoot issues as they arise will make you more confident and skilled at beading.
Difficulty Maintaining Tension
One common issue many crafters face is difficulty in maintaining tension. If the thread becomes too loose, your beads may shift, leading to uneven spacing. To resolve this, regularly check the amount of tension while weaving. If you notice looseness, gently tighten the string to restore balance. This attention to detail allows for a more professional finish in your work.
Beads Getting Stuck
Another common issue is beads getting stuck or improperly aligned. This can disrupt your flow and make your project frustrating. To prevent this, regularly run your fingers over the beads to ensure they’re moving freely. If you find a stuck bead, gently wiggle it until it’s loose again. Establishing this practice will help you spot issues early on before they escalate and become unmanageable.
Enhancing Your Beading Skills
As you become more familiar with your DIY beading loom, consider ways to enhance your skill set further. This knowledge will not only improve the quality of your work but will also keep you engaged and inspired.
Advanced Techniques to Explore
Once you’re comfortable with basic techniques, challenge yourself by exploring advanced methods. Techniques such as circular weaving and multi-layered patterns can set your work apart. Research online tutorials to discover new styles and techniques that interest you. This exploration aids in creativity and can push your artistic boundaries, helping you grow as a beader.
Joining a Community
Consider joining a crafting community to enhance your learning. Online forums and local crafting groups often provide a wealth of knowledge. By connecting with other crafters, you can exchange techniques, inspirations, and tips. Being part of a community not only enriches your skills but also builds lasting friendships with like-minded individuals.
Conclusion
Creating your own DIY beading loom is not only budget-friendly, but it also fosters creativity. You can craft a unique tool tailored to your artistic needs. As you follow the steps mentioned in this article, you will be well on your way to becoming a skilled beader. Remember to organize your workspace and explore various techniques to maximize your potential. Maintaining your loom and making small adjustments will enhance your crafting experience. Above all, don’t forget to have fun along the way! You may discover new styles and patterns, contributing to the constantly evolving world of beadwork. Happy crafting!
