Seed beading for beginners is a delightful and rewarding craft. Many beginners find it both fun and engaging. The art of adding tiny beads to create beautiful patterns and designs allows for endless creativity. With the right guidance and practice, anyone can master seed beading techniques. In this article, you will explore the essentials, basic techniques, and exciting project ideas to inspire your seed beading adventure.
Understanding Seed Beads and Their Uses
What Are Seed Beads?
Seed beads are small, rounded beads made from various materials. They come in different sizes, shapes, and colors, making them versatile. Most commonly, they are made from glass, but you can also find beads made from plastic or metal. Sizes are indicated by a number system; the higher the number, the smaller the bead. For example, size 15/0 beads are quite tiny, while size 6/0 beads are larger.
Seed beads are often used in jewelry-making, embroidery, and textile arts. They can add texture, color, and dimension to various projects. Many artisans create intricate patterns by weaving these beads together or sewing them onto fabric. This allows for a wealth of creative opportunities, whether you are making necklaces, bracelets, or earrings. The possibilities are truly limitless with seed beads.
Popular Types of Seed Beads
While many types of seed beads exist, some are particularly popular among beginners. Delica beads provide uniformity and precision due to their cylindrical shape. Conversely, traditional round seed beads are more versatile, making them a favorite for many projects. Both types come in a wide range of colors, coatings, and finishes. Consequently, you can customize your designs to match any theme or occasion.
Another popular choice is vintage seed beads. These beads often have unique historical backgrounds and intriguing designs. Many crafters enjoy sourcing these beads to add charm to their projects. Additionally, you can find specialty beads made from unusual materials like wood or clay. Their rustic appearance offers a different aesthetic compared to standard glass beads.

Essential Tools and Materials for Seed Beading
Basic Beading Tools
Before starting your seed beading journey, you need to gather suitable tools. The most essential tool is a needle designed for beading; this will help you thread smaller beads easily. A size 10 or 12 beading needle is often recommended for beginners. Pair this needle with appropriate beading thread, which is usually made of nylon or waxed polyester. Strong thread will ensure your projects last a long time.
Having good scissors or thread snips available is also vital. Clean cuts will make the threading process smoother and will avoid frayed ends. You may also wish to acquire a beading mat. This mat helps keep your beads organized and prevents them from rolling away. With these basic tools in hand, you will be well-equipped to begin your crafting journey.
Selecting Your Seed Beads
After gathering your tools, it’s time to select your seed beads. You can explore various stores, both online and local, to find beads that inspire you. Look for a color palette that resonates with you; this will enhance your creativity. It is common to mix and match different bead sizes and finishes for a more dynamic look.
When selecting beads, consider their finish. You can find matte, glossy, or metallic finishes that can transform your project. Additionally, you’ll want to examine the quality of the beads. Some lower-quality beads may have sharp edges that can easily break or snag your thread. Always purchase from reputable sellers to ensure the quality and durability of your beads.

Basic Techniques for Seed Beading
Fundamental Stitching Techniques
The foundational stitches in seed beading are essential for all projects. One of the most common stitches is the ladder stitch. This stitch is perfect for creating straight lines and rows. Start by threading your needle with a length of thread. Then, pick up a few seed beads, threading through each bead to create a ladder-like effect. Practice this stitch until you feel comfortable before moving on to more intricate designs.
Another foundational technique is the basic peyote stitch. This stitch creates a beautiful textured surface and can be used for bracelets and other designs. To begin, you thread your needle through a starting bead. Afterward, you alternate between adding beads and passing your needle through existing beads to create a zigzag pattern. It may feel challenging at first, but with practice, you’ll grasp the technique easily.
Incorporating Color and Pattern
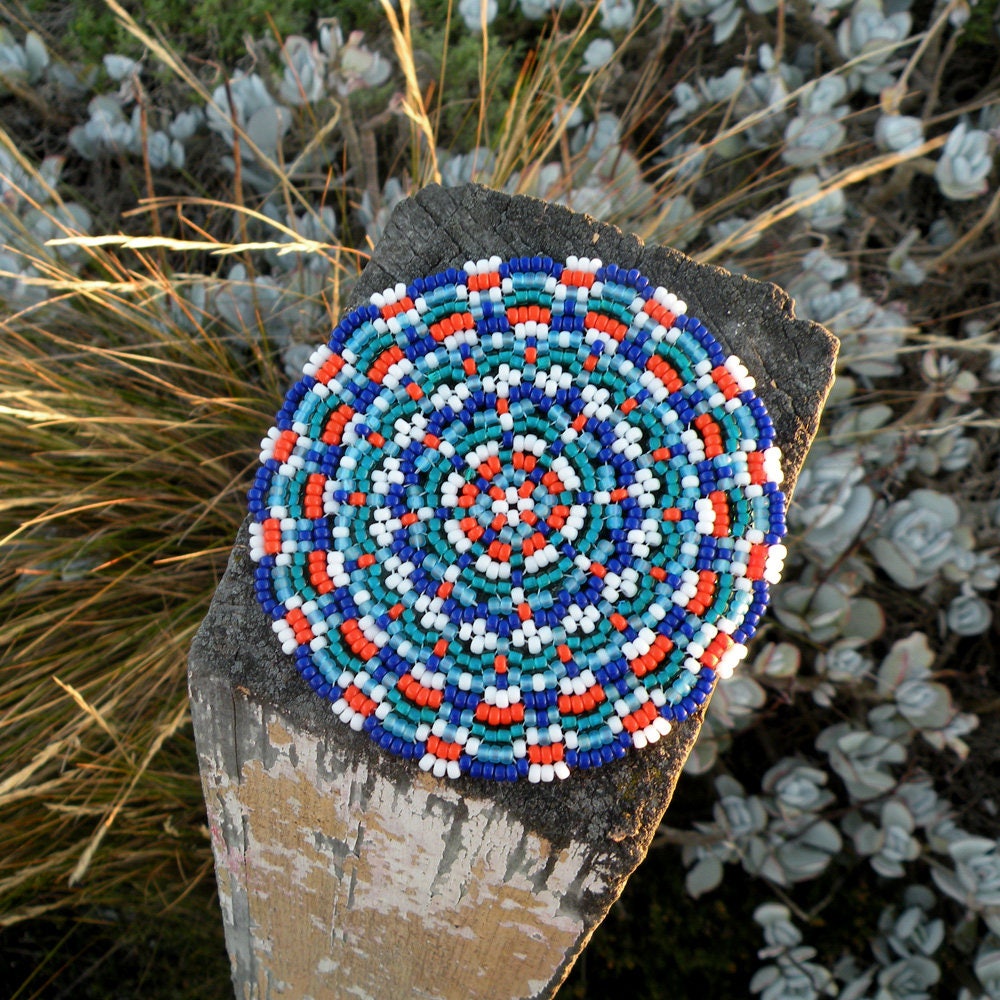
A key aspect of seed beading is the use of color and pattern. Experiment with different color combinations to achieve beautiful designs. Start by choosing a color scheme that suits your style. You can select colors that complement each other or create striking contrasts. It can be helpful to lay out your beads before starting your project. This will allow you to visualize how they will look together.
Incorporating patterns will elevate your designs even further. Consider using charts or templates to follow established patterns. However, don’t hesitate to create your own! Doodling or sketching ideas on paper can be an excellent way to brainstorm. As you gain experience, you can explore more complex patterns, such as geometric shapes or floral motifs. Practicing different designs will enhance your skill set and keep your creativity flowing.
Advancing Your Skills
Once you’ve created your first project, consider exploring more advanced techniques. Various stitches, patterns, and designs exist in the world of seed beading. Experimenting with different approaches can deepen your learning experience.
One advanced technique is peyote stitch. This stitch creates a textured pattern and enhances dimensionality in your beadwork. It can appear more complex than the basic stitches but is extremely rewarding. Once learned, it opens up a range of creative possibilities.
Learning Peyote Stitch
To start with the peyote stitch, prepare your thread and a suitable needle. Once you’re ready, thread a few beads to form your base. Next, secure your beads with a knot. Starting from the first row, alternate adding beads for subsequent rows.
Be patient as you navigate this new technique. It will take some practice to achieve even spacing. Focus on maintaining similar tension throughout your work. Over time, you will find your rhythm and master this enjoyable stitch.
Peyote stitch can be used for intricate designs, including bracelets, necklaces, or intricate art pieces. With each project, your confidence and skills will grow. Explore additional stitching techniques as well, such as brick stitch or random beading. Each method offers unique design opportunities and challenges.
Exploring More Advanced Patterns
As you become comfortable with advanced techniques, consider diving into complex patterns. Beading patterns range from geometric shapes to floral designs. Learning to read bead charts will also broaden your creativity. You can find numerous resources online and in books to guide you.
Practice makes perfect and each project you undertake will teach you something new. Don’t hesitate to modify patterns to reflect your style. Personalizing projects adds a unique touch, making your work even more meaningful.
Join a seed beading community, either locally or online, to share ideas. This will introduce you to new techniques and inspirations. It also creates opportunities for mutual support and encouragement on your creative journey. The more you explore, the more confident you will become in your craft.

Project Ideas for Seed Beading
Simple Jewelry Projects
Once you feel comfortable with basic techniques, it’s time to start crafting! Simple jewelry projects are a perfect way for beginners to apply their skills. A straightforward beaded bracelet can be made with just a few seed beads and a clasp. Begin by measuring your wrist to determine the length. Thread your beads in your chosen pattern, and finish by attaching a clasp for a polished look.
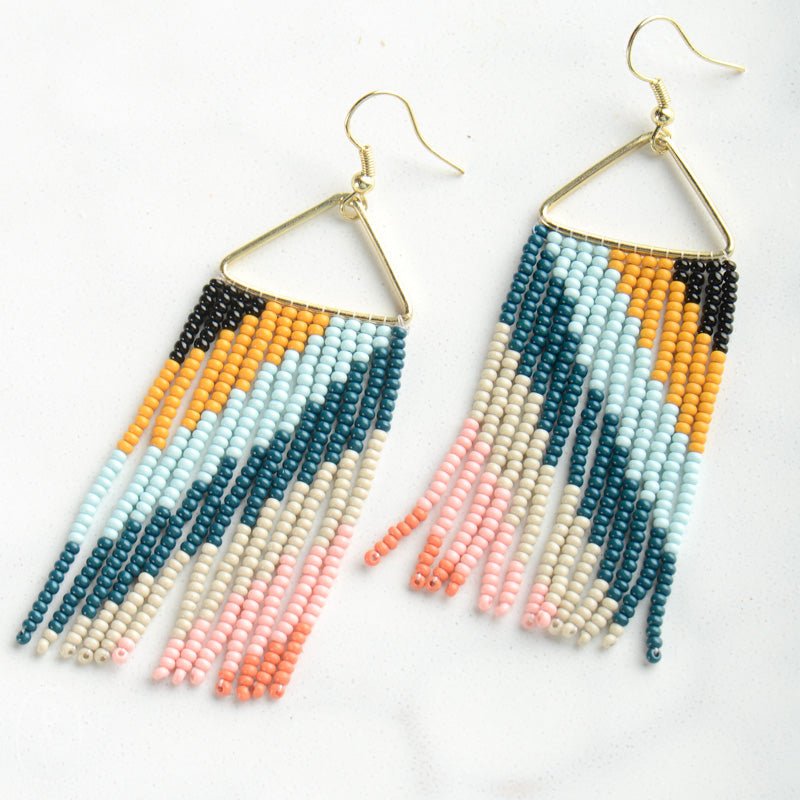
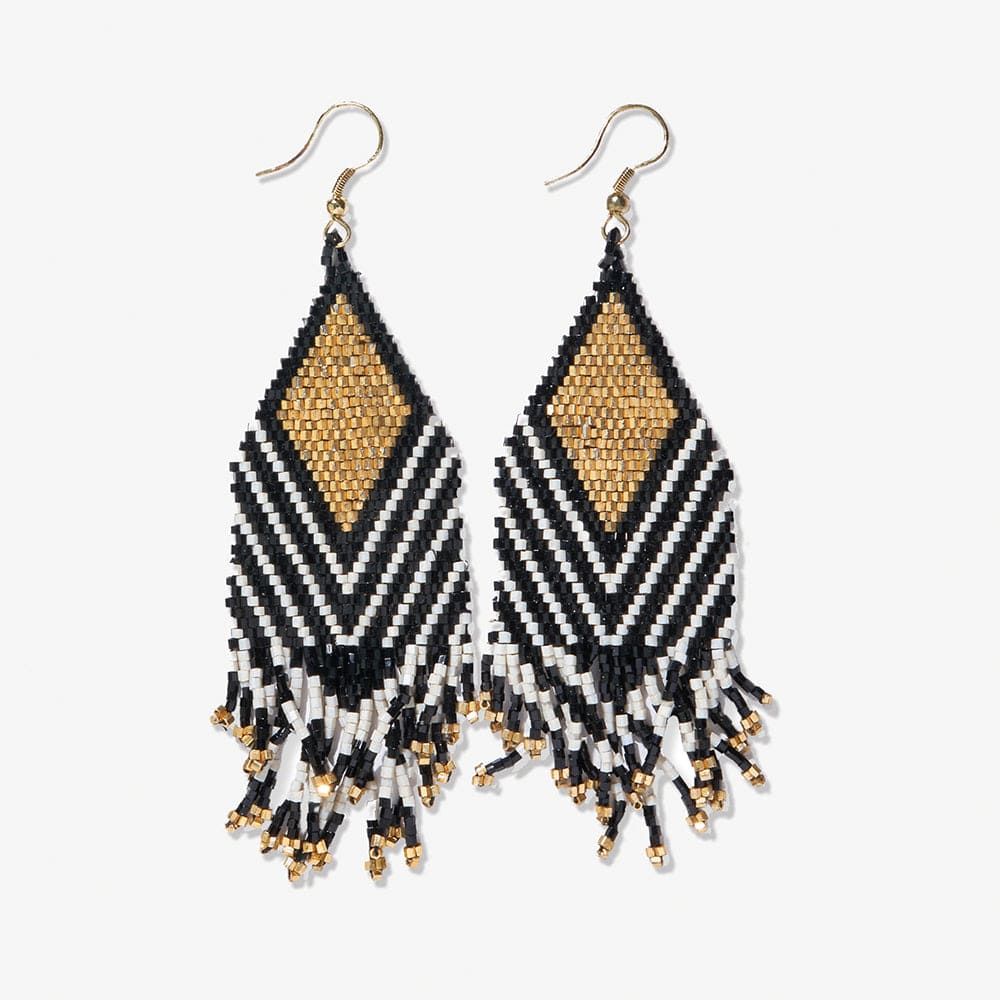
Another fun project is creating seed bead earrings. These earrings can be as simple or elaborate as you desire. For a beginner-friendly option, consider making a pair of dangle earrings with a few beads strung on a headpin. Just remember to have earring hooks and jump rings handy to complete your project. Experimenting with earrings will allow you to explore various designs without the commitment of larger projects.
Advanced Project Ideas
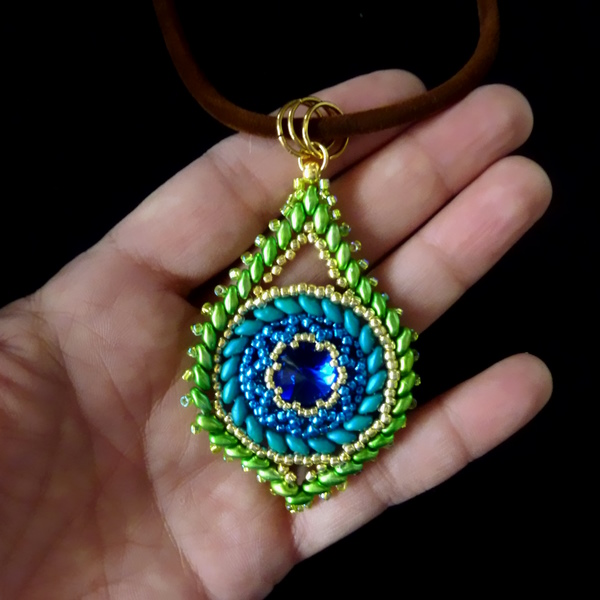
Once you’ve completed several simpler projects, you might be ready for something more challenging. Consider tackling a beaded necklace with multiple strings of beads. Using techniques like the peyote stitch or brick stitch can help elevate your designs. To create layers, you could combine seed beads with larger focal beads for added interest.
Additionally, you can explore seed bead embroidery for a more artistic approach. This technique allows you to attach beads directly onto fabric to create intricate patterns. You might choose to embellish a denim jacket or a canvas bag. The beauty of seed beading is that your creativity can think outside the box. Don’t hesitate to explore new project ideas that push your boundaries.
Conclusion: Embrace Your Seed Beading Journey
In summary, seed beading offers a world of creativity for beginners. By understanding the types of beads, essential tools, and techniques, you can begin your crafting journey with confidence. Start with simple projects, and gradually work your way to more complex designs. Don’t forget to experiment with colors, patterns, and materials; this will enhance your skills and keep crafting exciting.
With patience and practice, you will find that seed beading is both enjoyable and rewarding. The joy of creating beautiful pieces of art is unmatched. So gather your tools, select your beads, and dive into the world of seed beading. Your creativity knows no bounds, and it’s time to embrace the possibilities that await you!
