Introduction to Beading Bracelet Designs
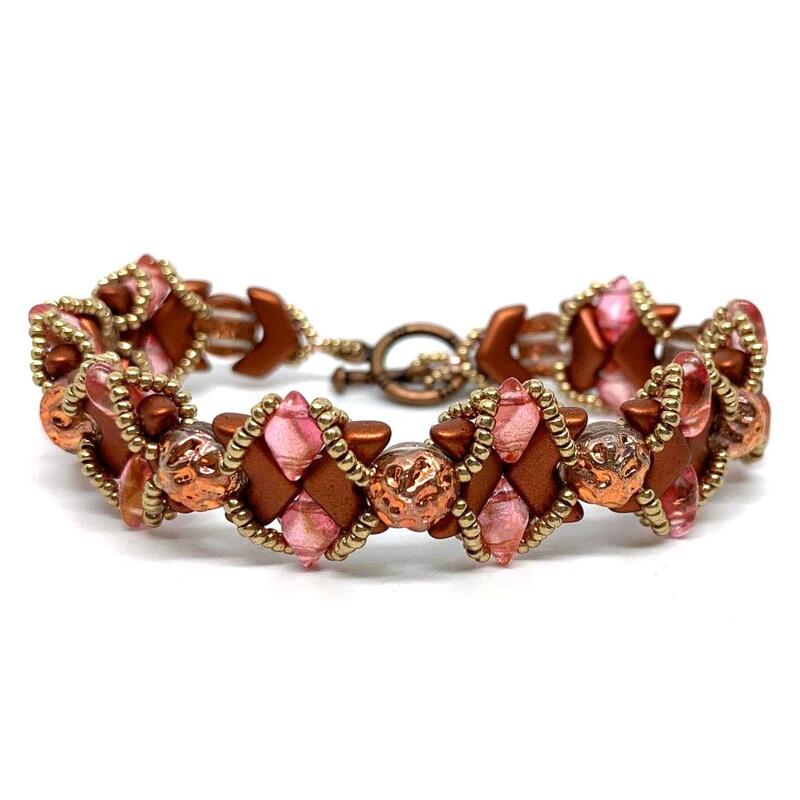
Beading bracelets are a fusion of art and fashion. They are unique, personal accessories that can showcase your creativity and sense of style. In this chapter, we will delve into the diverse world of beading bracelet patterns. Beading bracelet patterns come in various complexity levels, from simple designs for beginners to intricate patterns for advanced crafters. They provide a way to create custom jewelry that can complement any outfit, occasion, or mood. Both relaxing and rewarding, beading is a hobby that can yield beautiful, wearable art.
With each pattern, you can explore color combinations, texture contrasts, and the satisfaction of creating something by hand. This exploration is not just about following instructions; it is an art form where your imagination can flourish. As we progress, you will learn how patterns can vary and how each brings a different flair to your wristwear. Get ready to be inspired and start your journey into making elegant beading bracelet designs that are as unique as you are.

The Basics of Beading Patterns
Before diving into the intricate world of beading bracelet patterns, it’s important to grasp the basics. Understanding these fundamentals will help you create stunning pieces and follow patterns with ease. Here are the foundational elements you need to know:
Understanding Bead Types
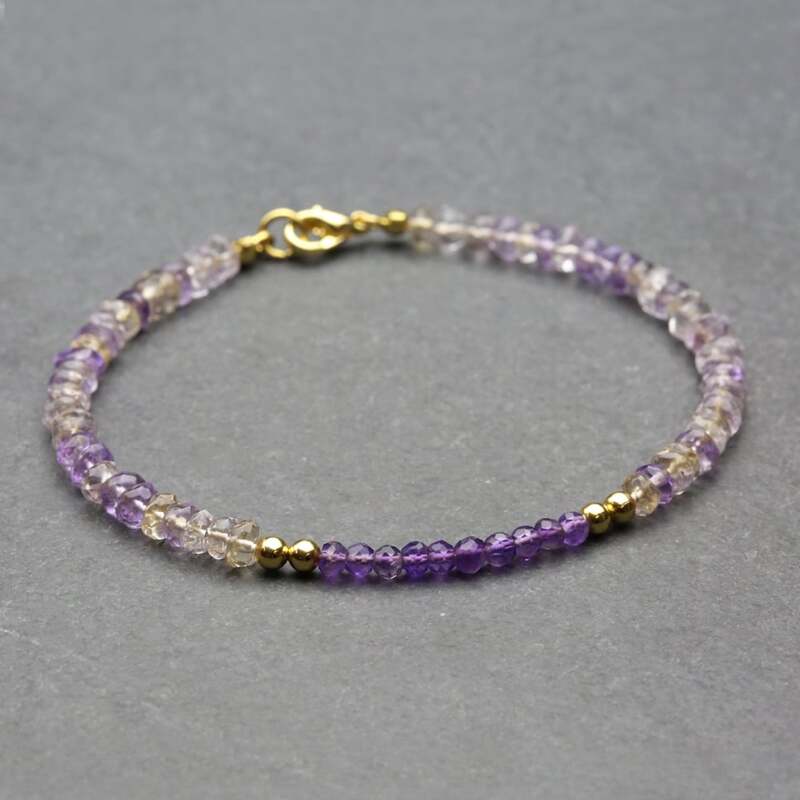
Beads come in various sizes, shapes, and materials. The most common types include seed beads, crystal beads, and glass beads. Each type offers a different look and feel for your bracelet.
Knowledge of Beading Thread
The thread you choose can affect the durability and appearance of your bracelet. Options range from nylon and silk to specialized beading threads. It’s crucial to pick a thread that complements your beads and pattern.
Familiarity with Beading Needles
Beading needles vary in size and type. The right needle can make threading beads easier. A general rule is to use a finer needle for smaller beads.
Basic Beading Techniques
Learning simple techniques such as the peyote stitch, the right-angle weave, or the ladder stitch will lay a foundation for more complex patterns.
Reading Beading Patterns
Understanding the symbols and instructions used in beading patterns is essential. This means recognizing thread paths and bead placement from diagrams or charts.
By mastering these basics, you’ll be prepared to tackle a variety of beading bracelet patterns and begin crafting your unique creations. Keep these points in mind as you continue on your beading journey. With practice, you can transform simple beads and threads into beautiful, handcrafted bracelets that express your individual style.
Popular Beading Techniques for Bracelets
When making beading bracelet patterns, technique is everything. Different techniques can give your bracelets various textures and styles. Here are some popular methods that crafters love:
Peyote Stitch
This off-loom weaving technique uses small beads, like seed beads. It creates a rich, textured fabric ideal for bracelets. The peyote stitch is versatile for creating patterns and images within your design.
Right-Angle Weave
This technique involves passing the thread through beads at right angles. It gives your bracelet a flexible and soft structure. This stitch is perfect for using with larger beads or crystals.
Ladder Stitch
As one of the basic stitches, the ladder stitch forms a strong foundation for any pattern. It works well as a base row for other more intricate techniques.
Brick Stitch
Similar to the peyote stitch, the brick stitch attaches beads together with a thread so they lie like bricks. It’s excellent for creating shapes and fringes.
Spiral Rope
This technique creates a spiral effect. It uses different sizes of beads for a textured and elegant bracelet. The spiral rope is both durable and flexible.
Through mastering these techniques, your beading bracelet patterns will come to life. Each method can be adapted to match your personal style and the occasion. Start experimenting with these techniques to find your favorite ones.

Materials Needed for Beading Bracelets
To embark on your beading journey, having the right materials is crucial. Gather these essentials to ensure your creations are both beautiful and durable.
Beads Selection
From tiny seed beads to gleaming crystals, choose beads that reflect your style and project needs. Consider color, shape, and size for the desired effect.
Quality Thread
Select a thread that can handle the weight and friction of your beads. Nylon, silk, and special beading threads are good choices.
Beading Needles
Opt for the correct needle size to match your beads. Smaller beads require finer needles for easy threading.
Beading Mat
A mat prevents beads from rolling away and provides a good work surface. Preferably, choose one that contrasts with your bead colors.
Scissors or Thread Cutters
Invest in a sharp pair to cut your thread cleanly without fraying. This helps in maintaining the integrity of your work.
Beading Pattern
Select a beading bracelet pattern that challenges your skill level and sparks creativity. Patterns range from simple to complex designs.
Gathering these materials will set you up for success in creating your dazzling beading bracelet patterns. Remember, the quality of your materials can greatly influence the outcome of your finished bracelet.
Step-by-Step Guide to Creating a Beaded Bracelet
Creating a beaded bracelet requires patience and attention to detail. If you’re ready to start a project, follow this simple guide to bring your beading bracelet patterns to life. Here’s what you’ll need to do:
- Choose Your Pattern: Begin by selecting a beading bracelet pattern that suits your level and style. Patterns with clear instructions and diagrams are best.
- Gather Materials: Assemble the beads, thread, needles, mat, and scissors we mentioned before. Double-check to ensure you have everything you need.
- Prepare the Thread: Cut a length of thread that’s easy to manage. Avoid too long threads as they may tangle. Thread your beading needle and secure the end with a knot or bead stopper.
- Add the Beads: Start adding beads according to your chosen pattern. Check each step twice before proceeding to ensure accuracy.
- Weave Carefully: Use your chosen beading technique—peyote, ladder, brick stitch, and so on. Keep your tension consistent for a neat finish.
- Secure Ends: Once you’ve beaded the desired length, secure the thread’s ends. Weave it back through a few beads before cutting it close.
- Add Clasps: Attach a clasp or closure to each end of the bracelet. Ensure it’s strong enough to hold the bracelet securely.
- Inspect and Trim: Double-check for any loose beads and trim excess thread. Your bracelet is now ready to wear or gift!
Patience is key when creating beaded bracelets. Take your time with each step for the best results. Enjoy the process, and wear your handmade bracelet with pride. Beading bracelet patterns give you endless possibilities to show your unique sense of style.

Tips and Tricks for Perfecting Beading Patterns
When creating beading bracelet patterns, perfecting the design can make all the difference. Here are some helpful tips and tricks:
Start with a Simple Pattern
If you’re new to beading, begin with a simple pattern. It will help you get a feel for the techniques without getting overwhelmed.
Keep Tension Consistent
Maintain an even tension throughout your work. It ensures the beads sit neatly and the bracelet maintains its shape.
Use a Beading Mat
A beading mat holds your beads in place and can save you from losing them. It also helps keep your work organized.
Double-Check Your Bead Count
Keep track of the number of beads in each pattern repeat. Miscounting can throw off the entire design.
Secure Loose Ends Properly
When starting or ending thread, weave it through several beads to avoid knots that could come loose.
Practice Makes Perfect
Don’t get discouraged if your first few attempts aren’t perfect. Beading bracelet patterns require practice to master.
Personalize Your Patterns
Don’t be afraid to adjust patterns to suit your style. Use different colors or add unique embellishments.
By implementing these tips, you can elevate your beading bracelet patterns to the next level. With each new project, you’ll find your technique improving, and your bracelets will become more intricate and refined. Remember, the key to beautiful beading is patience and practice. Happy beading!
Innovative Beading Pattern Ideas for Bracelets
When it comes to beading bracelet patterns, innovation is key to standing out. With a wide array of beads and techniques available, the potential for fresh, captivating designs is endless. Here are some innovative ideas to inspire your next masterpiece:
Experiment with Color Gradients
Start with light shades and gradually transition to darker ones, or vice versa. This effect creates a subtle, eye-catching look that can take a simple pattern to the next level.
Incorporate Charms and Spacers
Adding metal charms or spacers between beads can give your bracelet a unique touch. This can also help in structuring your bracelet with patterns or symbols that have personal meaning.
Mix and Match Bead Textures
Combine smooth, shiny beads with matte or textured ones. This contrast will make your bracelet stand out and add an interesting tactile experience.
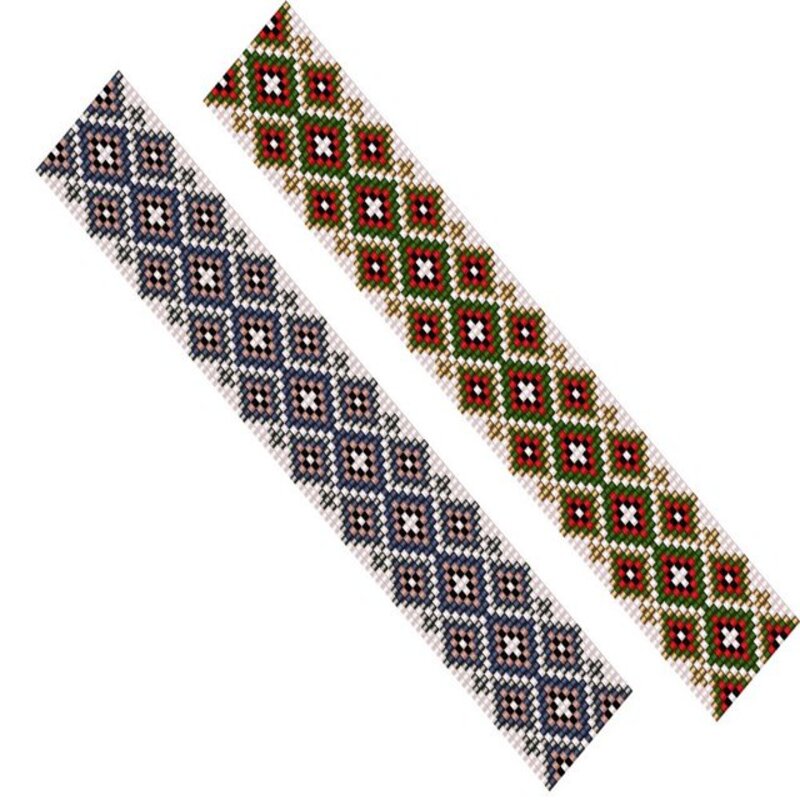
Try Geometric Patterns
Use beads to create geometric shapes and repetitive patterns. These lend a modern, sophisticated vibe to your bracelet.
Personalize with Alphabet Beads
Spell out names, initials, or special words using alphabet beads. Personalization is always in style, and it makes your bracelet one-of-a-kind.
Play with Bead Sizes
Vary the bead sizes throughout your bracelet for a playful and distinctive design. Larger beads can act as focal points, while smaller ones can fill spaces and create balance.
These innovative beading bracelet patterns will not only challenge your creativity but also enhance your design skills. Remember to keep practicing different techniques and combinations to create truly unique and stylish accessories.
How to Read and Interpret Beading Patterns
Reading and interpreting beading bracelet patterns can seem daunting at first. These patterns are like a map to creating wonderful bracelets. To make them come to life, you need to learn how to follow the notations and understand the symbols. Here’s a simple way to start reading and understanding beading patterns for your projects:
Get Familiar with the Legend
Each pattern comes with a legend. This key explains what each symbol means. It shows which bead to use at each step. Study this legend carefully. It will guide you as you work.
Understand the Thread Path
Patterns show the direction to weave the thread through the beads. Follow the arrows or lines closely. This ensures that your bracelet takes the correct shape.
Lookout for Color Codes
Many patterns use color codes to show where to place different beads. Keep these colors in mind. They are crucial for the pattern’s final look.
Pay Attention to the Numbers
Numbers next to a symbol usually tell you how many beads to thread. Count each bead carefully. This prevents mistakes that can throw off your design.
Start from the Right Place
Some patterns begin at the clasp, others at the opposite end. Make sure you start where the pattern indicates. This helps avoid confusion later on.
Practice with Easy Patterns First
Start with simple patterns that have clear instructions. This builds your confidence. As you get better, try more complex designs.
By mastering these skills, you’ll soon be able to read and interpret any beading bracelet pattern. Take your time and embrace the learning process. With patience and practice, you’ll be creating stunning bracelets that showcase your new know-how.
Showcasing Finished Beading Bracelet Projects
After completing your beading bracelet patterns, it’s time to show off your beautiful creations. Displaying your finished projects not only feels rewarding but can also inspire others to start their own beading journey. Here are some ways to effectively showcase your beading bracelets:
Take High-Quality Photos
Capture your bracelets in good lighting. Make sure the colors and textures are clear. High-quality photos show the intricacy of your work.
Post your finished bracelets on social media. Use hashtags related to beading to reach a wider audience. Engage with your followers by sharing your experience.
Create a Portfolio
Gather photos of all your projects in a portfolio. This helps you track your progress and serves as inspiration for future designs.
Gift Them to Friends and Family
Bracelets make thoughtful gifts. They’re even more special when you’ve made them yourself. Share your talent with loved ones.
Join Beading Communities
Join online forums or local beading groups. Showcasing your work in these communities can get you valuable feedback.
Attend Craft Fairs
Consider setting up a stall at craft fairs. This lets you display your bracelets to fellow craft enthusiasts.
Remember, every bracelet you make is a testament to your creativity and skill. Take pride in your work and enjoy sharing it with the world!
