Introduction to Wooden Beading
Wooden beading is a versatile craft. It combines the beauty of nature with a touch of personal flair. From jewelry to home decor, the possibilities with wooden beads are endless. Beads made from wood bring a unique texture and warmth to handmade items that other materials can’t match.
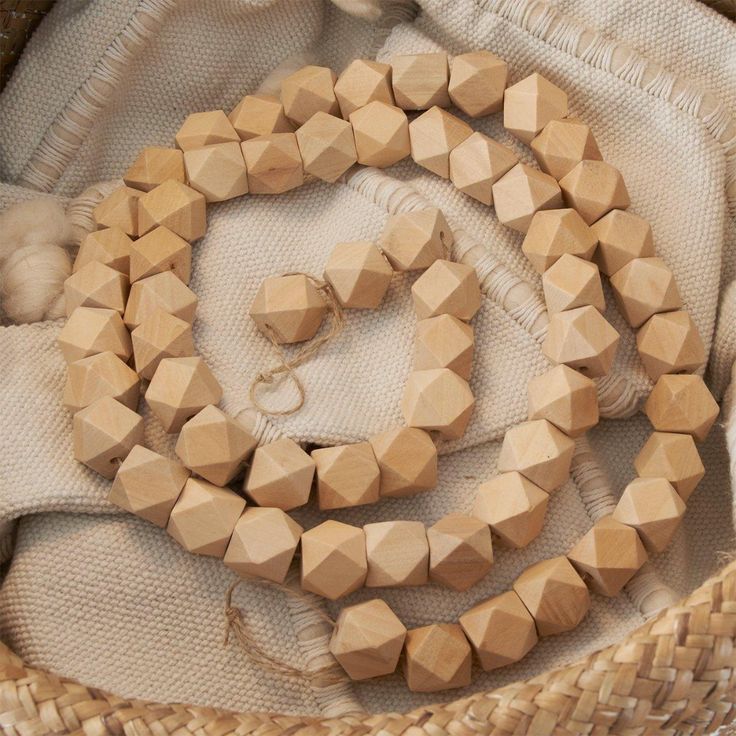
Wooden beads come in a variety of sizes, shapes, and types of wood, each offering a different look and feel. They can be painted, stained, or left in their natural state. This flexibility allows creators to achieve the perfect aesthetic for their project. Whether for a rustic charm or a sleek modern design, wooden beading fits many styles.

For newcomers, wooden beading is an accessible hobby. It’s easy to start with just a few materials, and the techniques are straightforward. For veteran crafters, wooden beads provide a medium to express complexity and skill. They allow for a wide range of techniques that can add dimension and sophistication to projects.
In this guide, we’ll explore the art of wooden beading. We’ll discuss materials, techniques, and provide step-by-step project ideas. Also, we will offer tips for working with different types of wood beads. Lastly, we will talk about how to seal and protect your creations. Your journey into wooden beading begins here, unlocking a world of creativity and natural beauty.
Materials and Tools Needed for Wooden Beading Projects
To dive into wooden beading, gather your materials and tools first. You’ll need some essentials to get started. Here’s a quick rundown of what you should have on hand.
Wooden Beads
Choose beads in various sizes, shapes, and woods. Consider your project’s look and feel before buying.
Stringing Materials
Options include elastic cord, leather strips, or sturdy thread. Pick the right type for your bead’s size and weight.
Clasps and Findings
These small metal parts will help you finish necklaces and bracelets. Make sure you have a good selection.
Tools
You will need scissors for cutting string and pliers for clasps. Also, a bead tray can help organize your workspace.
Paints and Stains
If you want to add color, gather acrylic paints or wood stains. Don’t forget brushes and sealants to finish the job.
Start with these basics for your wooden beading projects. As you get more skilled, you might add other items to your kit. Remember that high-quality materials can make your work stand out. Happy crafting!

Basic Wooden Bead Craft Techniques
Embarking on a wooden beading project begins with mastering basic craft techniques. Even simple methods can transform wooden beads into stunning creations. Here’s a structured approach to learning the basics.
Choosing the Right Bead Sizes and Shapes
Start by selecting beads that fit the vision of your project. Large beads make bold statements, while small ones add delicate touches. Consider the shape; round beads are versatile, but unique shapes can add interest.
Threading Techniques
Use the appropriate stringing material for your beads. Thread smaller beads with thin cords, and reserve thicker strings for larger ones. Practice making secure knots to ensure the durability of your crafts.
Creating Patterns and Designs
Patterns give life to your beading work. Plan your designs before stringing the beads. Alternate colors and sizes for an eye-catching effect. Symmetry can bring harmony to a piece, but don’t shy away from playful randomness.
Attaching Clasps and Closures
Finishing your piece with the right clasp is crucial. Learn to attach different types of closures. This ensures your necklaces and bracelets remain fastened when worn.
Maintenance of Tools
Take care of your tools to ensure they stay sharp and effective. Regularly clean and organize them to streamline your crafting process.
These techniques form the foundation of wooden beading crafts. With practice, you will improve your skills and develop your unique style. Keep experimenting and don’t be afraid to try new methods. Remember to infuse each project with your personal touch, using wooden beading as your creative canvas.
Step-by-Step Projects with Wooden Beads
Venture into hands-on crafting with these step-by-step projects involving wooden beads. Both beginners and seasoned crafters can find something suitable. Here are a few projects to get started with.
Simple Wooden Bead Necklace
This classic project is perfect for beginners.
- Choose medium-sized round wooden beads.
- Cut a length of leather strip or elastic cord.
- Start threading the beads, adding a knot between each for a spaced look.
- Attach clasps to the ends to secure the necklace.
This necklace adds a natural, minimalist touch to any outfit.
Wooden Bead Bracelets
Create custom bracelets with a mix of bead sizes.
- Select small and large beads.
- Use a thicker string for durability.
- Thread the beads in a pattern or randomly for a unique look.
- Secure the ends with a strong clasp.
Stack multiple bracelets for a fashionable layered effect.
Decorative Wooden Bead Coasters
Craft functional home decor with minimal supplies.
- Pick large, flat beads.
- Arrange the beads in a circular shape on a strong thread.
- Loop the thread to hold the design together.
- Tie off securely and trim excess thread.
These coasters serve as chic protections for your surfaces.
Keychains with Character
Personalize your keychains with colorful beads.
- Choose small wooden beads and one larger bead as a focal point.
- String them on a durable keychain ring.
- Use a secure knot to keep them in place.
Perfect for gifts, these keychains add a personalized touch.
Starting with these projects helps familiarize you with the basics of wooden beading. Let your creativity flow by exploring patterns, colors, and shapes.

Creative Ideas for Decorating with Wooden Beads
Wooden beading brings a creative spark to home decor. Here are some fresh ideas to inspire your next project.
Wall Hangings
Create unique wall art with wooden beads. Start with a simple design. String beads on yarn or twine. Make geometric shapes or free-flowing patterns. Hang your creation for a rustic wall feature.
Curtain Ties
Add a boho touch to your curtains. Use large wooden beads to craft chunky tie-backs. Choose a natural color or paint them to match your decor.
Chandelier Decor
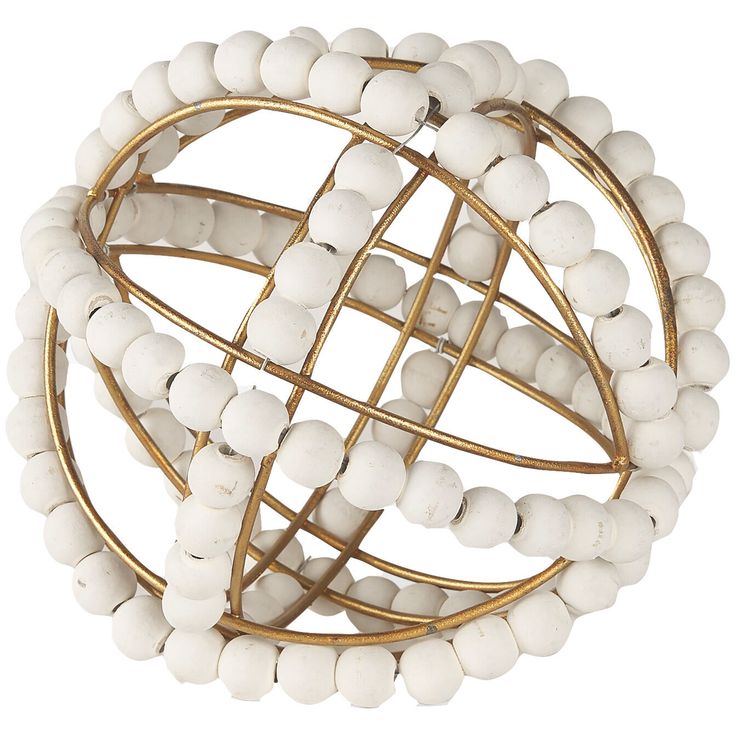
Make a statement with a beaded chandelier. Use a metal hoop as a base. Hang strands of beads in varying lengths. It adds warmth and light to any room.
Plant Hangers
Bring nature indoors with beaded plant hangers. Macrame techniques work well here. Include beads to add texture to the cord. This makes for a charming display of your greenery.
Table Runners
Give your dining table an earthy vibe. Thread wooden beads on strong string. Create long rows to use as runners. They are simple yet striking.
Drawer Pulls
Upgrade your furniture with beaded drawer pulls. Thread beads onto sturdy wire. Twist and secure to make handles. These can transform cabinet doors or dresser drawers.
Wooden beads are not just for jewelry making. They can enhance your living space in many ways. Try these ideas or come up with your own. Use wooden beading to show off your style and creativity.
Tips for Working with Different Types of Wood Beads
Navigating through the nuances of various wood beads is key to successful projects. Each type brings its own character and working requirements. Here are custom tips for a few common wood bead types.
Handling Soft Wood Beads
Soft woods like pine or cedar are easy to work with due to their pliability. They’re ideal for beginners. Remember to handle them gently to avoid dents and be cautious when threading, as they can split more easily than harder woods.
Working with Hard Wood Beads
Hard woods such as oak or walnut demand a bit more effort to manipulate but offer durability. Use sturdy stringing materials and make sure your tools are sharp enough to prevent damaging the beads. Drilling might be necessary for customization.
Coloring Light Wood Beads
Beads from woods like birch or maple are light in color and perfect for customizing with paint or stain. Apply thin coats to avoid clumping and give ample drying time. Seal them properly to maintain the color.
Preserving Dark Wood Beads
Darker woods like mahogany or ebony have a rich, natural color. Use clear sealants to enhance their depth without altering the hue. Always test the sealant on a spare bead to ensure it doesn’t spoil the wood’s natural beauty.
Combining Different Wood Types
Mixing soft and hard wood beads in a project adds texture and interest. Balance the design by placing heavier beads at the bottom or center for symmetry.
With these tailored tips for different types of wood beads, your wooden beading experience will be smooth and enjoyable. Always pay attention to the qualities of the wood you’re working with, and your craftsmanship will shine through.
Sealing and Protecting Your Wooden Bead Creations
Ensuring your wooden bead creations last is important. Sealing them adds durability and protects against wear. Here’s how to keep your beadwork in top shape.
Choosing the Right Sealant
Select a sealant that matches the finish you desire. For a shiny look, go for a gloss varnish. Matte varnishes work for a non-glossy finish. Read labels to make sure it’s safe for wood beads.
Preparing Your Wooden Beads
Clean beads before sealing. Remove dust and debris with a soft cloth. Make sure they are completely dry.
Applying the Sealant
Use a small brush to apply sealant on the beads. Cover all surfaces evenly. Don’t rush; work one bead at a time for uniform coverage.
Allowing Proper Drying Time
After applying sealant, wait for it to dry fully. This may take a few hours to a day. Patience ensures your beads won’t stick together or smear.
Handling Beads After Sealing
Once dry, handle your beads with care. The sealant hardens them, but they can still chip if dropped.
Regular Maintenance
Check your beaded items from time to time. Touch up with sealant if you notice any wear. This keeps them looking fresh and extends their life.
By following these steps, your wooden bead crafts will maintain their beauty. Sealed beads are more durable and resistant to the elements. With proper care, your work will continue to charm for years to come.