The Basics of Beading for Bracelets
Entering the world of beading can feel overwhelming with the myriad of options available. Yet, understanding the basics is key for anyone looking to create their own stunning beaded bracelets. From bead types and sizes to the right thread and needles, mastering these essentials will set the foundation for more complex beading patterns for bracelets.

Understanding Bead Types and Sizes
Beading starts with choosing the right beads. Different bead types affect the overall look and feel of the bracelet. Seed beads are popular for their versatility and variety of colors. Bugle beads add texture and flair with their tubular shape. For size, beads are measured in millimeters; seed beads often range from 2mm to 3mm, ideal for intricate designs. Always consider the bead size to ensure they fit together seamlessly in your chosen beading patterns for bracelets.
Choosing the Right Thread and Needles
A strong thread is crucial for bracelet durability. Nylon threads are a top choice due to their strength and flexibility. Be sure to match the thread color with your beads for a clean look. The needle size should complement your thread and bead size. Small beads require thin needles to pass through without force. Thicker threads need larger needles with bigger eyes. For smooth beading, use a needle that glides easily through your beads with the chosen thread.
In the next sections, we’ll dive into the essential beading techniques to further your beading skills. Stay tuned for insights on loom beading fundamentals and off-loom stitching methods that will transform your basic skills into expert, eye-catching beaded bracelets.
Essential Beading Techniques to Know
Once you have a handle on the basics, it’s time to explore essential beading techniques. Knowing these methods will expand your skill set and enable you to tackle various beading patterns for bracelets with confidence.
Loom Beading Fundamentals
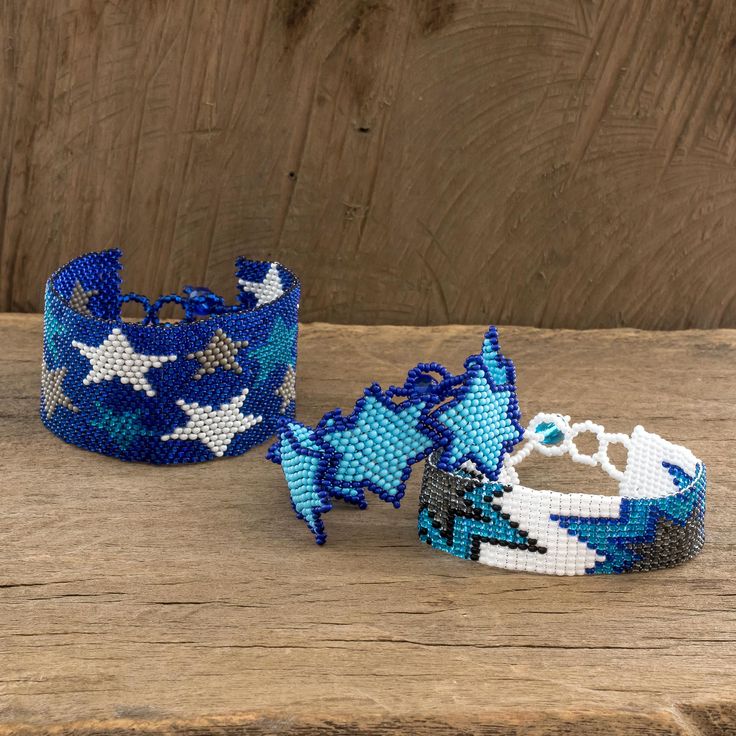
Loom beading is a traditional technique that creates a uniform, woven look. It involves threading beads on a loom to make a series of rows that form a pattern. Start with a simple beading loom. Choose beads that fit comfortably next to each other. Follow a pattern or plan your own. Keep tension even for a neat finish. Practice the under-over weaving method to secure beads in place. Loom beading is great for making wide, patterned bracelets that are stylish and comfortable to wear.
Off-Loom Stitching Methods
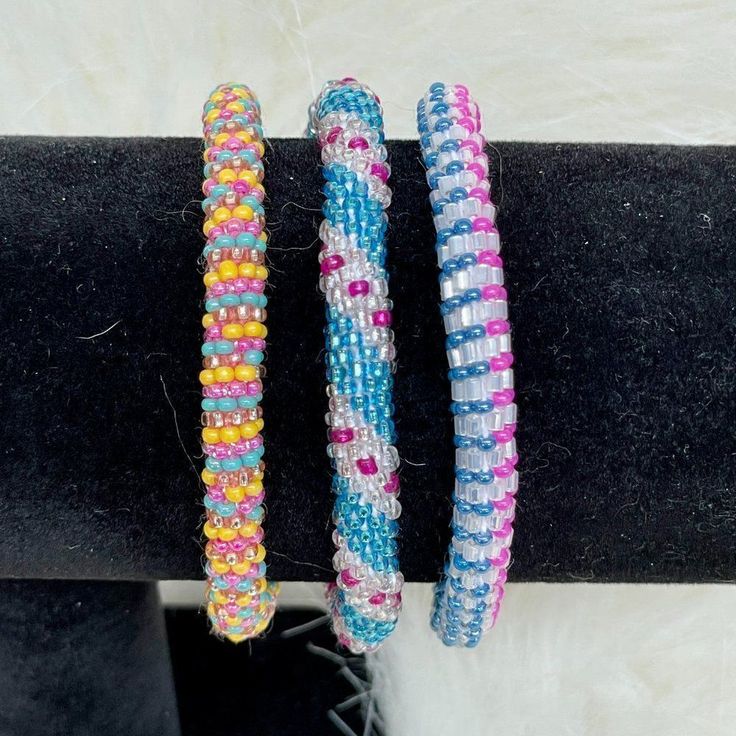
Off-loom beading, or hand stitching, offers more flexibility. There are several popular stitches to learn. The peyote and brick stitch are great for flat designs. Spiral and herringbone stitches add depth and texture. Begin by choosing beads that complement each other in size and color. Cut a length of thread that is easy to manage. Secure your first bead with a stopper bead. Follow your chosen pattern with care, maintaining a consistent tension. Off-loom methods allow you to create intricate and dimensional beading patterns for bracelets without the need for a loom.
Popular Beading Patterns for Bracelets
By mastering the basics and essential techniques in beading, enthusiasts are now ready to explore popular beading patterns for bracelets. These patterns not only enhance the beauty of the bracelets but also offer a sense of accomplishment when mastered.
Peyote Stitch Patterns
The peyote stitch is a favorite among beaders for its versatility. It allows for the creation of intricate patterns and textures. This stitch involves picking up one bead at a time and sewing it in an alternating pattern that creates a flat, textured surface. Peyote stitch patterns are perfect for those who love detail and enjoy a challenge. Use even count peyote for simple designs or try odd count for more complex shapes.
Right-Angle Weave (RAW) Patterns
Right-Angle Weave, often abbreviated as RAW, is known for its strength and flexibility, making it a great choice for bracelets. This stitch resembles a woven fabric, with the beads arranged at right angles to one another. RAW patterns are relatively easy to learn but can be adapted into complex designs. Start with single-row RAW and progress to multi-row or even circular RAW patterns to add dimension to your creations.
Both peyote and RAW stitch patterns require patience and practice. However, the result is always a stunning, handcrafted bracelet that stands out. Remember to maintain even tension and keep your count accurate for the best results. Happy beading, and revel in the beauty of these popular beading patterns for bracelets!

Exploring Advanced Beading Designs
As you progress in your beading journey, exploring advanced designs can bring even more flair and uniqueness to your bracelets. Advanced beading patterns for bracelets challenge your skills and unlock creative possibilities you may not have considered.
Incorporating Multi-Strand Patterns
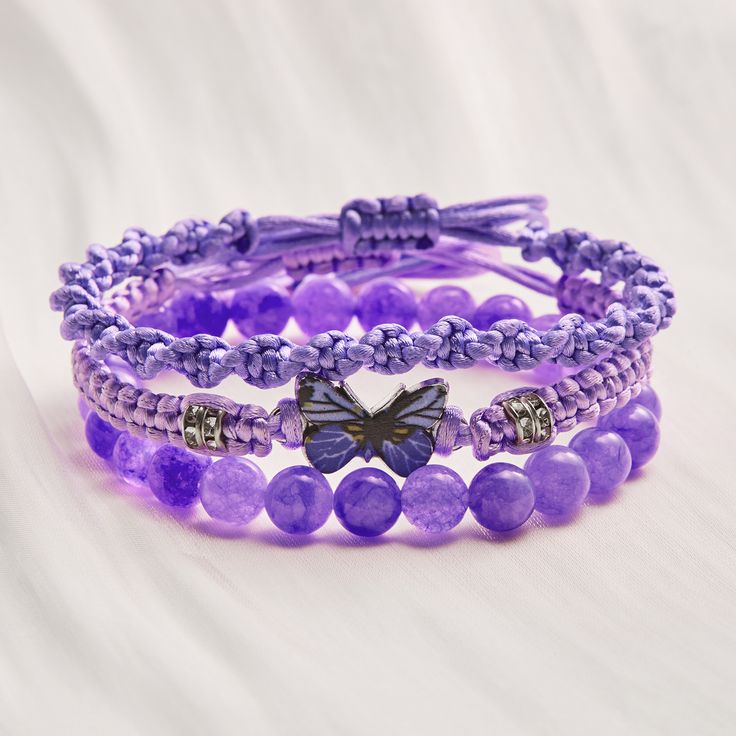
Multi-strand patterns add complexity and richness to your bracelets. These patterns involve using multiple threads or strings of beads that come together harmoniously. To start, select beads that blend well in color and size. Plan your design, so each strand complements the others. Thread each strand one by one, then join them carefully. This technique allows you to play with different textures and bead types, creating layered looks that are eye-catching and stylish.
Working with 3D Beading Techniques
Take your beading to another dimension with 3D beading techniques. These techniques involve building up beadwork to form shapes that pop out from the flat plane. Begin with a base pattern using familiar stitches like peyote or RAW. Then, add layers or embellishments to create a 3D effect. Keep your tension tight for firm structure. Pay close attention to detail, as precision is key in 3D beading. With patience, you can create stunning, sculptural pieces that really stand out.
Tips for Designing Your Own Beading Patterns
When it comes to creating beaded bracelets, designing your own beading patterns can be a fulfilling experience. It provides a unique touch to your projects and sets your work apart from others.
Inspiration and Creativity in Pattern Design
Inspiration for beading patterns is everywhere, from nature’s intricate details to the bold lines of modern art. Draw ideas from your surroundings, favorite colors, and seasonal trends. Try sketching your designs first or use a bead layout board to envision your bracelet. Mix and match different bead types and play with color combinations for a creative edge. Remember, each beaded bracelet you design reflects your personal style and creativity.
Tools for Creating and Sharing Patterns
Utilize beading design tools to bring your patterns to life. Beading software allows for precise pattern planning and editing. Softwares like BeadTool and EasyBeadPatterns are user-friendly and help visualize your concepts before stringing any bead. For sharing, consider turning your patterns into PDFs or uploading them to a dedicated blog or social media. Platforms like Etsy or Craftsy are also perfect for selling your unique patterns to other enthusiasts. As you continue to design, keep honing your skills, and your patterns could soon inspire others in the beading community.

Finishing Touches for Beaded Bracelets
Your bracelet’s beauty shines in the details. Finishing touches make it wearable and professional-looking. Good finishes are as important as the beading itself. They secure your work and give your bracelets a polished look.
Adding Clasps and Closures
A clasp is more than a functional piece; it’s part of your bracelet’s design. Choose a clasp that complements your bracelet’s style. Lobster clasps are secure and easy to use. Toggle clasps add a decorative touch. Slide lock clasps work well for multi-strand bracelets. Always attach clasps with a strong, reinforced attachment point to ensure longevity.
Techniques for Professional Finishing
Knotting your thread properly prevents beads from slipping off. Hide knots by passing the needle through nearby beads. Use crimp beads to secure your thread to clasps. Crimp beads should match in color and size with your design. Apply bead tips to cover and protect your knots for a neat finish. Seal the ends of your thread with a dot of super glue for extra security. Remember to trim any excess material for a clean, tidy end.
Follow these finishing techniques in your beading patterns for bracelets to ensure your creations are not only beautiful but also durable and comfortable to wear. Pairing secure fastenings with seamless techniques allows you to produce bracelets that are both attractive and long-lasting.