Tila beads have revolutionized the beading landscape. These two-hole tile beads offer versatility and unique design possibilities. As we dive into their fascinating world, you’ll learn how to create intricate patterns. We’ll explore the techniques and elegant designs that utilize these remarkable beads. This article will guide you through various aspects of Tila beading. From beginner-friendly patterns to advanced designs, you’ll find a treasure trove of information here.
Understanding Tila Beads
Tila beads, produced by Miyuki, are known for their flat, tile-like shape. These beads are available in various colors and finishes, making them a favorite among bead enthusiasts. But what truly sets them apart? It’s their two-hole design, which opens up myriad design possibilities.
History and Characteristics of Tila Beads
Tila beads emerged from Japan and have since captivated the globe. Their flat, rectangular form, combined with dual holes, distinguishes them from traditional round beads. The two holes allow for more structural integrity in designs. Consequently, patterns using Tila beads tend to appear more polished and intricate.
Versatility in Designs
The versatility of Tila beads cannot be overstated. From simple bracelets to complex necklaces, Tila beads are your go-to. Whether you prefer geometric patterns or organic designs, these beads cater to all styles. Their variety of finishes adds to their adaptability. From matte to metallic, the choices are endless.

Beginner-Friendly Tila Beading Patterns
If you’re new to Tila beads, don’t worry; numerous beginner-friendly patterns exist. These simple yet stylish patterns help you grasp the basics. Moreover, starting simple ensures you don’t get overwhelmed. Let’s explore some easy designs that even a novice can master.
Simple Tila Bracelet
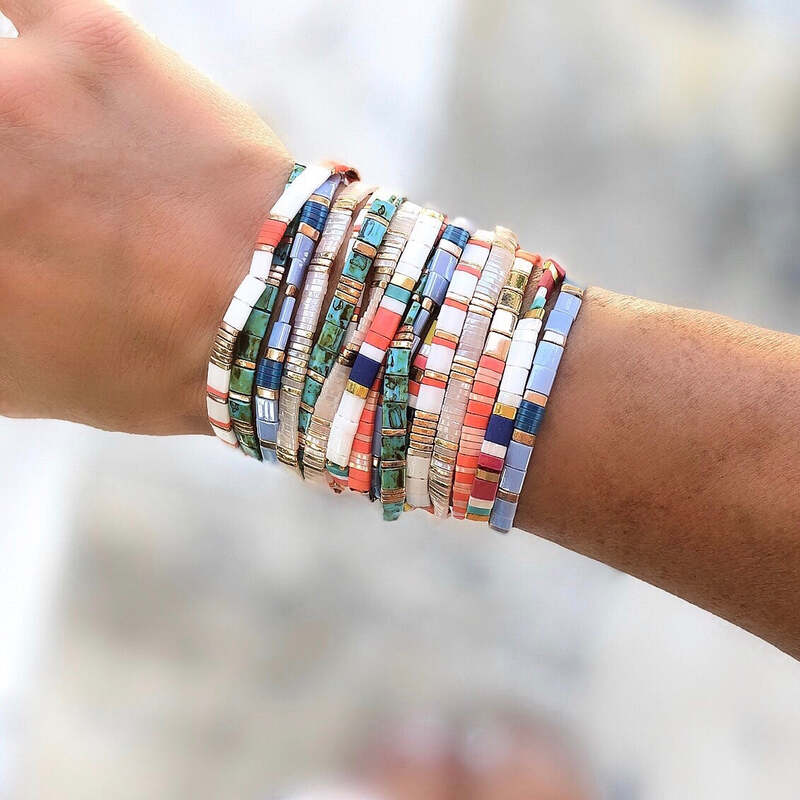
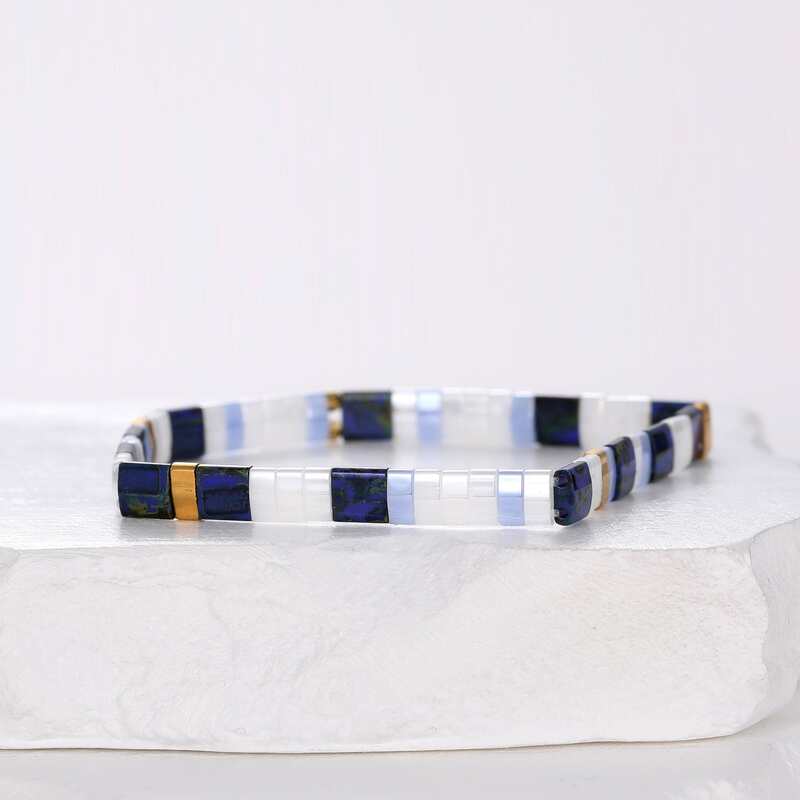
One of the most straightforward designs is a single-strand Tila bracelet. This design requires minimal materials and is an excellent introduction to Tila beads. First, choose your favorite colors. Next, thread the beads through their two holes, creating a streamlined bracelet. Secure the ends with a clasp, and you’re done. The result is an elegant yet simple bracelet perfect for any occasion.
Basic Tila Earrings
Earrings are another great beginner project. You’ll need some earring hooks and a few Tila beads. This time, play with different colors and finishes for a more dynamic look. Attach the Tila beads to the hooks using jump rings. Now, you have a pair of stylish earrings crafted by your own hands. It’s a straightforward project but immensely satisfying.
Intermediate Tila Beading Patterns
Once you’re comfortable with the basics, it’s time to move on. Intermediate patterns challenge your skills but offer more intricate and rewarding designs. These projects typically require a bit more time and materials. However, the results are worth the effort.
Multi-Strand Tila Necklace
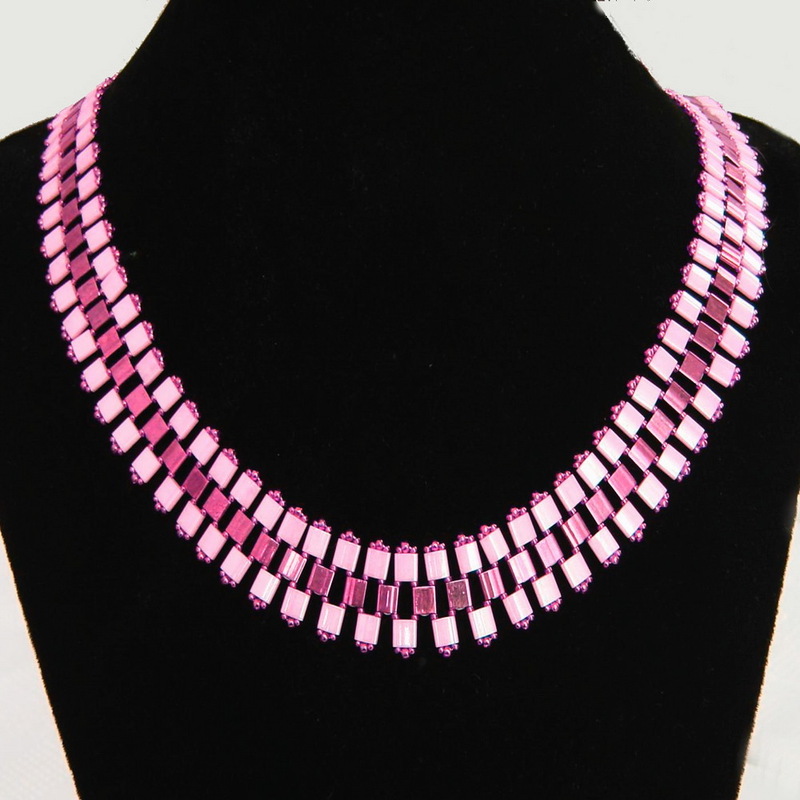
A multi-strand Tila necklace looks intricate but is manageable with some patience. You’ll create multiple strands of Tila beads in this design, often incorporating seed beads. The layering effect adds dimension and depth. Start by making several single-strand necklaces of varying lengths. Then, combine these strands using a multi-strand clasp. The result is a statement piece that showcases the beauty of Tila beads.
Tila Bead Cuff
A Tila bead cuff is another intermediate project that yields stunning results. This pattern involves weaving Tila beads into a wide cuff bracelet. To start, you’ll need a loom or a beading needle. Weave the Tila beads in a grid pattern, ensuring they lie flat and aligned. The dual-hole design provides stability, making it easier to maintain the grid. Once the desired width and length are achieved, attach a clasp. This cuff is a bold accessory that elevates any outfit.

Advanced Tila Beading Patterns
For those who have mastered the intermediate patterns, advanced designs await. These projects are complex and time-consuming but immensely rewarding. They allow you to push your creative boundaries and showcase your skills.
Intricate Tila Bead Tapestry
Creating an intricate Tila bead tapestry is a labor of love. This project involves a detailed pattern chart and a variety of beads. First, choose a design. Nature motifs, geometric patterns, or abstract designs can be very effective. Once your design is picked, start by laying out the beads. Use a sturdy thread and needle to weave the beads, ensuring each row aligns perfectly. The tapestry can be framed as artwork or used as a focal piece in your home decor. It’s a project that tests your patience but results in a breathtaking piece of art.
Complex Tila Bead Pendant
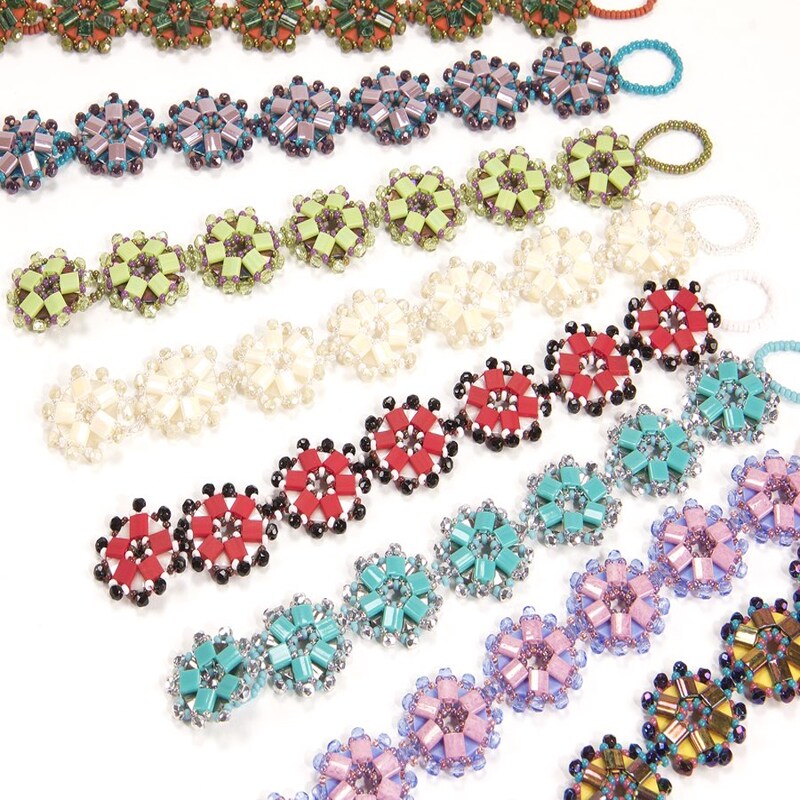
A complex Tila bead pendant can become the centerpiece of any necklace. This pattern involves creating a layered, 3D effect with Tila beads. Start with a base layer, then add successive layers on top. Each layer should slightly offset from the layer below. This creates depth and dimension. Attach the pendant to a chain or cord, and you have a unique piece of jewelry. The dual holes allow for intricate weaving, making the pendant both sturdy and beautiful.
Tips and Tricks for Tila Beading
As with any craft, Tila beading has its tricks of the trade. These tips can help make your beading experience more enjoyable and the results more professional.
Choosing the Right Materials
The materials you choose can make or break your project. High-quality Tila beads are essential. They ensure uniformity and durability in your designs. Additionally, invest in good-quality thread or beading wire. This not only makes the process smoother but also enhances the longevity of your creations. Inspect each bead before use. Discard any that have defects or irregularities.
Mastering the Weaving Techniques
Weaving techniques can be a bit tricky to master but are crucial for more advanced projects. Practice makes perfect. Start with simpler weaving patterns and gradually move on to complex ones. Tension control is vital. Too tight, and the beads will warp. Too loose, and they’ll lack structure.

Joining the Tila Beading Community
Getting involved in the Tila beading community can be beneficial. Fellow enthusiasts can offer advice, share patterns, and provide inspiration. Beading groups online and in-person provide a sense of community and shared experience.
Online Forums and Social Media
Online forums and social media are excellent platforms to connect with other beaders. Websites like Pinterest and Instagram can offer endless inspiration. Join dedicated beading groups on Facebook or Reddit. These communities often host challenges, share tutorials, and provide support.
Local Beading Groups
Local beading groups can offer hands-on assistance. These groups often meet regularly to share tips, work on projects, and trade materials. Joining a local group can provide real-time feedback and friendship. Plus, it’s a great way to socialize and network with fellow beaders.
Conclusion
Tila beading patterns offer endless possibilities. From simple bracelets to intricate tapestries, the only limit is your imagination. Whether you are a beginner or an advanced beader, there’s a Tila pattern for you. Use the tips and techniques discussed here to enhance your skills. Join the beading community to share your passion and learn from others. Now, it’s time to gather your materials and start creating. Happy beading!
In summary, Tila beading is a rewarding and versatile craft. With the right materials and a bit of practice, anyone can create stunning pieces. Remember, the joy is in the journey as much as the finished product. Embrace the process, and you’ll soon see incredible results. Dive into the world of Tila beading, and let your creativity soar.
