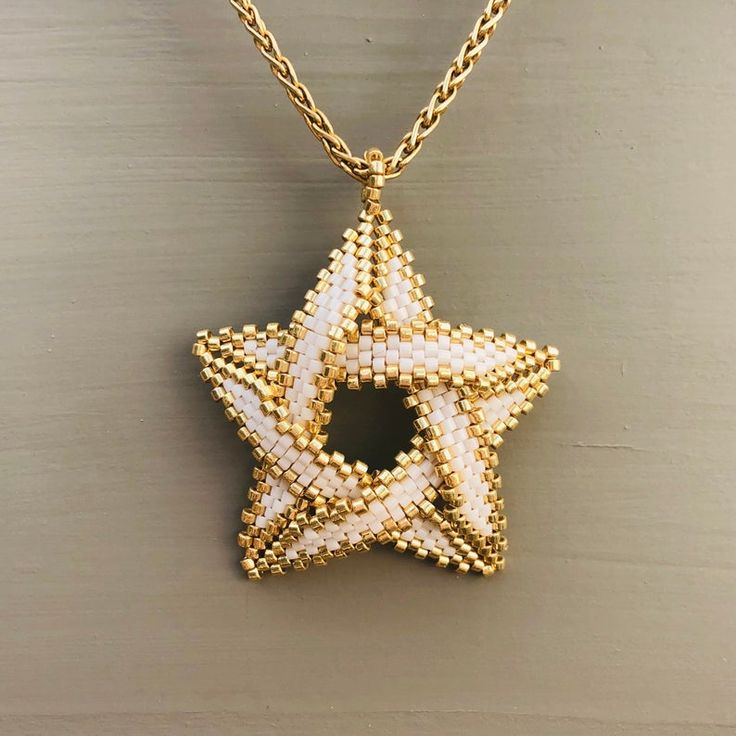
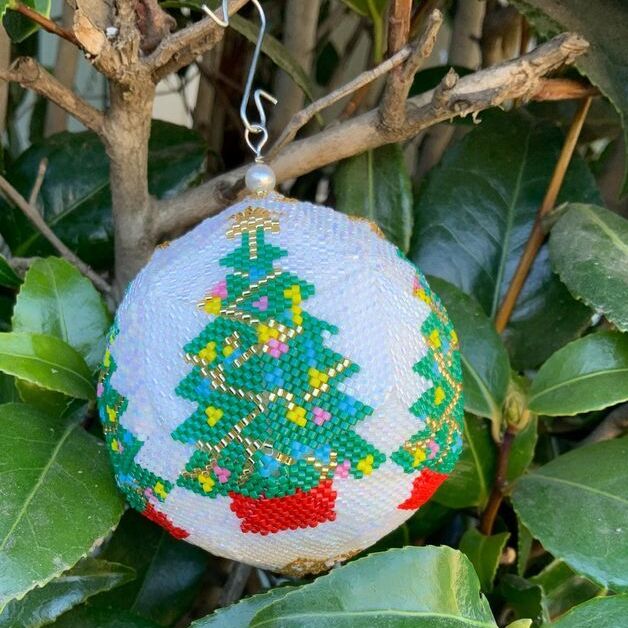
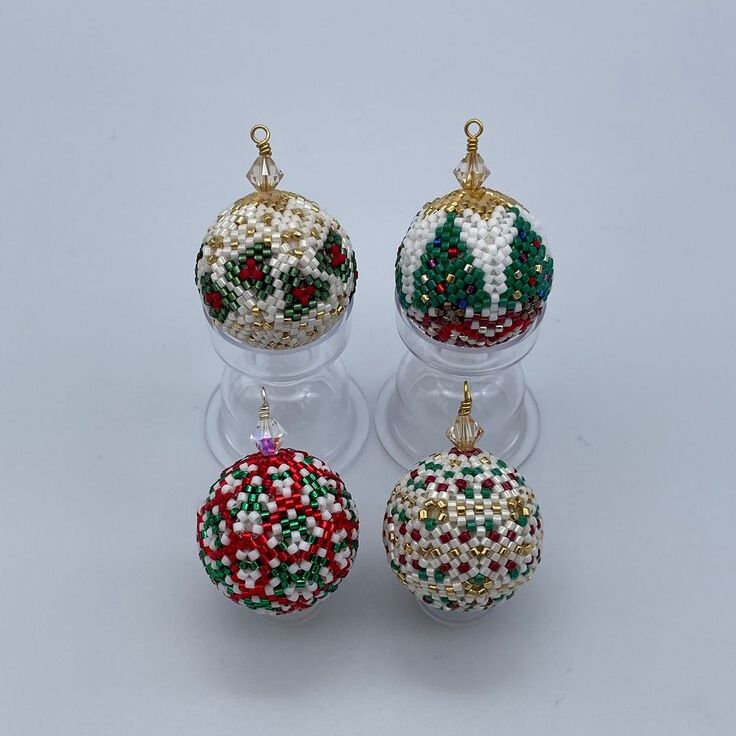
Essential Tools for 3D Beading
To succeed in creating 3D beading patterns, having the right tools is essential. This sector of your toolbox is where precision and quality can make a real difference. Here’s a rundown of the must-have tools for any 3D beading enthusiast.

Needles
For precise beadwork, you need fine, strong needles. They should be thin enough to pass through tiny bead holes. Opt for beading needles in various sizes to match different bead sizes.
Thread
Choose a durable thread tailored for beading. It should withstand tension without fraying or breaking. Popular options include nylon and monofilament threads.
Bead Mat
A bead mat prevents beads from rolling away and provides a soft surface. It helps organize your beads and protect your work area.
Scissors or Thread Cutters
Sharp scissors or thread cutters are crucial for clean cuts. They ensure your ends are neat, which is vital for final assembly.
Bead Organizer
An organizer helps manage different beads and tools. With proper compartments, it aids in keeping your workspace tidy.
Pliers
For certain 3D beading patterns, pliers help tighten knots and trim wires. They are instrumental in shaping wire beaded elements.
Keep these tools at your work station to tackle any 3d beading pattern that comes your way. Quality tools contribute to the making of stunning 3D beadwork that lasts. Remember, practice makes perfect, so equip yourself for success and let creativity lead your hand.
Selecting Beads for 3D Projects
Selecting the right beads is crucial for any 3d beading pattern. The shape, size, color, and type of bead all play a pivotal role in the final look and structure of your project.
When choosing beads, consider the following:
- Size: The bead size will affect the texture and the detail level. Small beads are excellent for intricate patterns, while larger beads can create bolder, more visible pieces.
- Shape: Beads come in various shapes, including round, cylindrical, and even shaped beads like stars or hearts. The shape will influence how they fit together and the 3D effect.
- Color and Finish: Colors set the mood, while the finish can be glossy, matte, or even iridescent. Picking contrasting colors can help highlight details and give your beadwork depth.
- Material: Glass, plastic, wood, and metal are common materials. Each material has different weight and durability, impacting how the piece hangs or sits.
- Uniformity: For consistent patterns, ensure your beads are uniform in size and shape. Irregular beads can disrupt the pattern and make assembly challenging.
Remember, the beads you select will influence not just the aesthetic, but also the wearability and longevity of your creation. Take time to consider your 3d beading pattern and choose beads that enhance the beauty and function of your work.
Basics of 3D Beading Techniques
Learning basic 3D beading techniques is key to any 3D beading pattern project. These foundational skills will help you build complex shapes and designs. Here are several techniques to master:
- Peyote Stitch: This popular stitch forms the backbone of many 3D beading designs. Alternating rows create a fabric of beads, perfect for sculptures and figures.
- Brick Stitch: Ideal for creating base rows or edging, this stitch attaches beads to a foundation row. It is versatile and works well for adding fringes.
- Herringbone Stitch: Known for its strong textural look, the herringbone stitch produces a twilled effect. Use it for flexible and dimensional beading.
- Square Stitch: This stitch mimics the look of woven fabric. It’s great for sturdy pieces and works well for flat or 3D designs.
- Ladder Stitch: Start with this stitch to create the initial rows. It’s a simple building block for more complex patterns.
- Right Angle Weave (RAW): This stitch creates a soft and flexible fabric. It’s key for forming curved and rounded 3D shapes.
Practice these stitches regularly. Start with simple patterns and gradually move to more intricate designs. Soon, you can tackle any 3d beading pattern with confidence. Remember, tight tension is important but don’t pull too hard, as it may warp the shape. Keep experimenting to discover which techniques best suit your artistic vision.

Step-by-Step Guide to Your First 3D Beading Project
Embarking on your first 3D beading pattern can be thrilling. Follow this step-by-step guide to get started smoothly.
Step 1: Choose Your Design
Start with a simple 3D beading pattern. Look for designs suited for beginners. Remember, start easy and progress.
Step 2: Gather Your Tools and Materials
Refer to the essential tools mentioned earlier. Get the right beads, needles, and thread for your design.
Step 3: Prepare Your Workspace
Set up a comfortable spot with good lighting. Use a bead mat to organize and protect your beads.
Step 4: Thread Your Needle
Cut a length of thread; not too long to tangle, not too short to hinder. Thread your needle and tie a knot at the end.
Step 5: Begin with a Base Row
Follow your pattern and start with a base row. Use a ladder stitch or another beginner-friendly technique.
Step 6: Expand Your Pattern
Carefully add beads, row by row, building up your 3D structure. Maintain even tension throughout.
Step 7: Keep Checking Your Work
Periodically check the pattern for mistakes. Catch them early to save time in correcting.
Step 8: Finish the Beading
Once complete, weave in the ends of your thread to secure your work.
Step 9: Add Supports if Needed
For some designs, you may need to add supports. Use extra thread or wire to keep the shape stable.
Step 10: Admire Your Work!
Take a moment to appreciate what you’ve created. You’ve completed your first 3D beading project!
Practice these steps with patience and attention to detail. It will soon lead you to create stunning 3D beadwork pieces. Keep in mind to integrate the 3d beading pattern keywords naturally, maintaining a 2% to 3% occurrence rate throughout your blog for optimal SEO impact.

Advanced 3D Beading Patterns and Designs
Once you’ve mastered the basics, you can tackle advanced 3D beading patterns. These designs are intricate and require a good grasp of various stitching techniques. Here’s how you can approach these advanced patterns and elevate your beadwork.
Understand the Design Complexity
Advanced projects often feature complex shapes such as animals, flowers, or geometric forms. Study the pattern thoroughly before starting. Know where each bead goes.
Apply Multiple Beading Techniques
Use a combination of stitches like peyote, herringbone, or right angle weave. This versatility improves the texture and depth of your 3D creations.
Experiment with Color and Texture
Choose beads that contrast in color or finish to highlight specific details. Mix matte, shiny, and textured beads for a dynamic effect.
Pay Attention to Structural Integrity
For 3D objects that need to hold their shape, consider using a stiffer thread or integrating wire supports. They help maintain the form.
Practice Patience and Precision
Advanced patterns require time and careful attention. Work slowly and ensure each bead is correctly placed. Check your tension regularly.
By embracing these advanced techniques and tips, your 3D beadwork can really stand out. Push your limits and create stunning, intricate designs that showcase your skills.
Expanding Your Skills: Resources for 3D Beading Enthusiasts
To enhance your 3D beading pattern skills, consider tapping into varied resources. These learning tools can make a vast difference in your crafting journey. Here are essential resources every beading enthusiast should explore.
Online Tutorials and Videos
A wealth of knowledge is at your fingertips with online tutorials. Platforms like YouTube offer step-by-step video guides. These cover everything from basic techniques to advanced designs. Search for tutorials specific to the 3D beading pattern you wish to master.
Beading Books and Magazines
Beading books provide in-depth details on various techniques. They often include patterns and tips from expert bead artists. Check out your local book store or library for the latest beading magazines. They keep you updated on new trends and materials.
Workshops and Craft Classes
Join workshops to learn directly from experienced beaders. Many craft stores and community centers offer classes on 3D beading. These sessions provide hands-on experience and instant feedback.
Beading Forums and Online Communities
Online forums and community groups connect you with fellow beading enthusiasts. Sharing challenges and achievements with a supportive group enhances learning. Sites like Reddit and Craftster are great places to start.
Bead Shows and Exhibitions
Attend bead shows to see a variety of 3D beading patterns. These events showcase work from top artisans. They are perfect for inspiration and networking. You might also find unique beads and materials unavailable in regular stores.
Leverage these resources to refine your 3D beading techniques. They help you stay current and creative in your beading projects. Always seek new skills and knowledge to keep your designs fresh and exciting.