Introduction to Pearl Beading
Pearl beading combines art and elegance in jewelry making. This technique involves stringing pearls together to create various pieces such as necklaces, bracelets, and earrings. Pearl beading not only enhances the visual appeal but also adds a touch of sophistication to any attire.
Pearl beading suits both beginners and expert crafters. For novices, it’s a gentle introduction to the world of beading. For experts, it offers endless possibilities to explore complex designs and intricate patterns. Essential to starting pearl beading is understanding the types of pearls available and the basic techniques used in handling them.
Quality is crucial in pearl beading. Pearls come in different shapes, sizes, and colors. Each type demands specific beading techniques to best showcase its unique beauty. Before diving into the process, one should also gather the right tools to ensure the finished product is well-crafted and durable.

Essential Tools for Pearl Beading
Having the right tools is crucial for effective pearl beading. Simplifying the process, these tools ensure precision and enhance the design’s overall quality. Here’s a list of essential tools for anyone interested in pearl beading.
Beading Needles
These are specially designed needles, thinner and longer than typical sewing needles. They help to thread pearls and other beads smoothly.
Beading Thread
Choose a thread that is durable and suitable for the type and weight of pearls you are using. Options include silk, nylon, and polyester threads.
Bead Mat
A bead mat prevents pearls from rolling away. It also helps protect the pearls’ surface from scratches during crafting.
Scissors or Thread Cutters
Scissors or thread cutters are necessary for cutting your thread or wire to the desired length.
Ruler or Measuring Tape
A ruler or measuring tape ensures that your jewelry pieces are the perfect length and size.
Tweezers
Tweezers can help in handling small pearls or in correcting threading mistakes.
Crimping Tools
These are used to secure clasps and beads in place by crimping metal bead tips or crimp beads on the thread.
Everyone interested in pearl beading, from beginners to experts, should have these tools. With them, you can create beautiful, durable pearl jewelry.
Types of Pearls Used in Beading
When undertaking pearl beading, it’s crucial to understand the diverse types of pearls available. This knowledge ensures appropriately matching the pearls to the intended design and effect. Below are some of the common types of pearls used in beading:
Freshwater Pearls
These are the most commonly used pearls in jewelry making. Freshwater pearls come in a variety of shapes, sizes, and colors, ranging from white to deep lavender. Their availability and affordability make them highly popular among crafters.
Akoya Pearls
Known for their perfect round shapes and lustrous shine, Akoya pearls are often white or cream-colored with hints of pink or silver. They are popular in creating elegant, classic jewelry pieces.
Tahitian Pearls
Coming from the warm waters of the French Polynesian islands, Tahitian pearls are unique for their dark, exotic colors. They range from graphite to black, with overtones of green, blue, and purple, making them ideal for striking and contemporary jewelry designs.
South Sea Pearls
These are among the largest and most valuable pearls, often found in shades of white, cream, and golden. South Sea pearls are renowned for their extraordinary luster and thick nacre, suited for luxury pearl beading projects.
Each type of pearl brings a distinct beauty and character to a beaded piece. Choosing the right type depends on the project’s desired aesthetic and the wearer’s style preferences.

Basic Pearl Beading Techniques
Learning the basics is the foundation to mastering pearl beading. Here are some fundamental techniques that you can employ to start creating your own pearl jewelry. Familiarize yourself with these, and you will be on your way to crafting elegant pieces.
Threading and Knotting
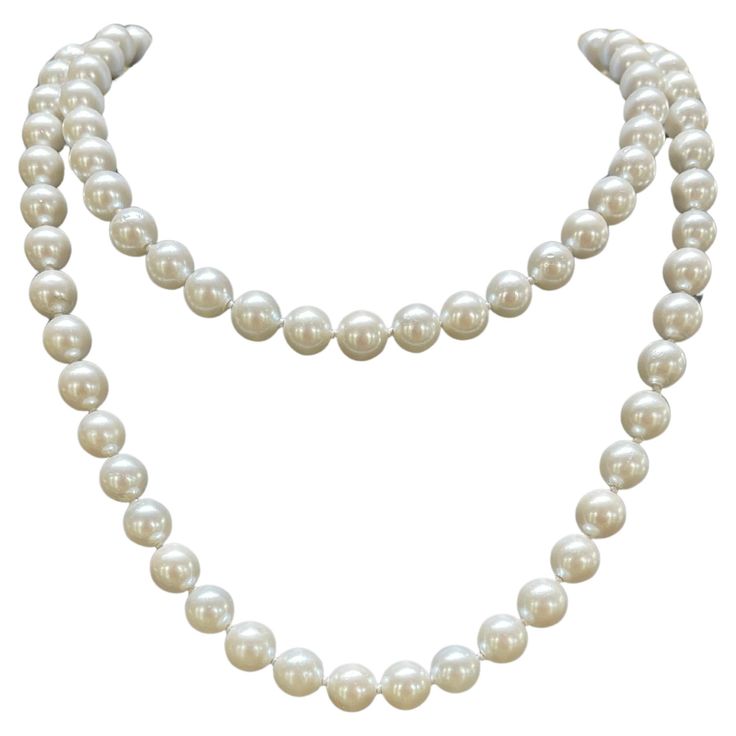
Threading is the first step in pearl beading. Pick a beading needle and cut a length of thread. Thread the needle and knot the end. String pearls one by one, tying a knot between each pearl. This prevents them from rubbing together and ensures your piece is secure. Knotting also adds a professional touch to your jewelry.
Using Crimp Beads
Crimp beads offer an alternative to knotting. Slide a crimp bead onto your thread, add a clasp, and thread back through the crimp bead. Using crimping tools, squeeze the bead to secure the thread and clasp. Trim any excess thread. Crimps provide a neat finish and are perfect for when you want a streamlined look.
Bead Weaving
Bead weaving uses patterns to arrange pearls into decorative designs. This technique can be complex. Start with simple patterns before moving to more intricate designs. With practice, bead weaving allows for great creativity in your jewelry pieces.
Stringing Multiple Strands
For a layered effect, consider stringing multiple strands. Measure and cut equal thread lengths. String pearls onto each, then join the strands with a clasp. Ensure they lie flat and are evenly spaced for a unified look.
These basic techniques are the stepping stones to more advanced pearl beading work. Remember to use the essential tools for precision and to handle your pearls carefully. As you gain confidence, explore more complex designs and techniques to add to your repertoire.
Advanced Beading Techniques with Pearls
Once you have mastered the basic techniques of pearl beading, you might want to explore more advanced methods. Advanced techniques allow you to truly customize and refine your jewelry pieces. Here are some advanced pearl beading techniques you can incorporate into your crafts:
Ladder Stitch
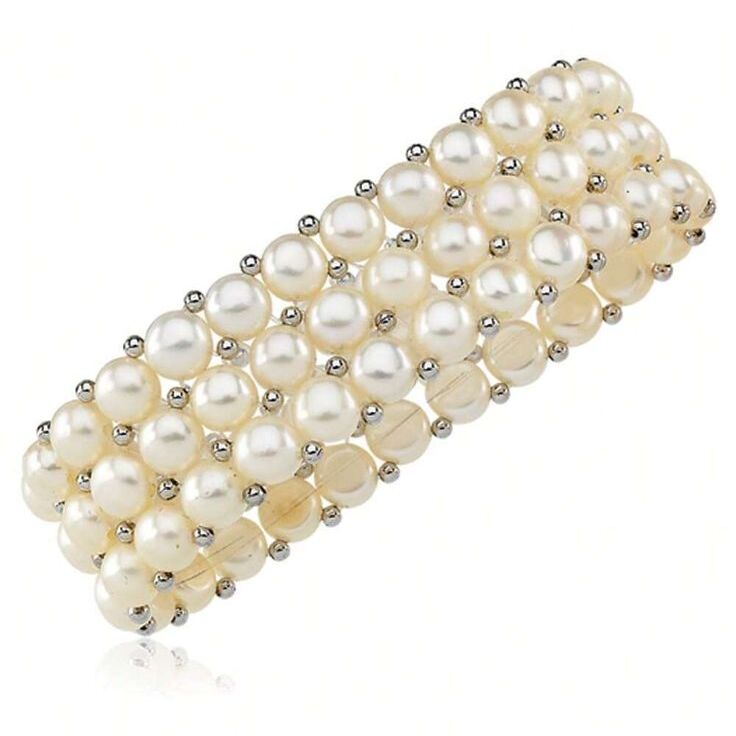
The Ladder Stitch is great for creating wide, flexible bands. You align rows of pearls side by side, linking them with thread. This technique works well for bracelets and decorative belts.
Peyote Stitch
Peyote stitch involves alternating rows of pearls to create a staggered, textured pattern. It’s ideal for intricate bracelets or necklace accents. This stitch allows for a lot of creative variations.
Right Angle Weave
This technique uses a weaving pattern that gives your piece a natural flexibility and soft texture. Using four pearls, you form a square or diamond shape, then build on from each unit. It’s perfect for creating fluid, elegant necklaces and bracelets.
Spiral Rope
The spiral rope technique lets you create a spiral pattern, perfect for necklaces and bracelets. You alternate between different sizes or colors of pearls to enhance the spiral effect.
Embellishing
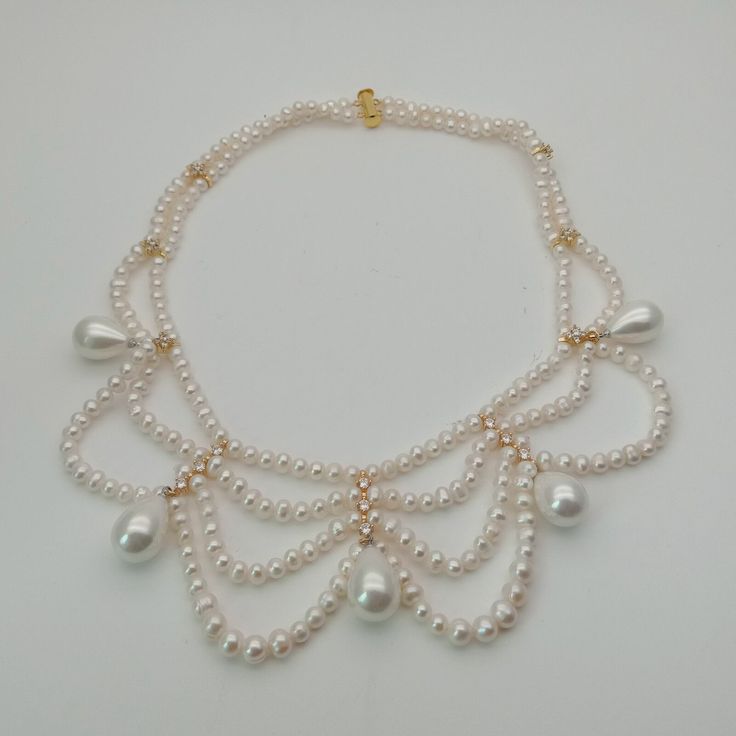
Adding extra elements, such as smaller beads or crystals, between pearls can give your piece extra sparkle. This can elevate the elegance of your designs.
Experiment with these advanced techniques to expand your pearl beading skills. With practice, you’ll be able to create truly unique and sophisticated pieces.

Designing Your Own Pearl Jewelry
Crafting pearl jewelry that reflects personal style is both satisfying and creative. When you start designing your own pearl jewelry, here are steps and considerations to keep in mind:
- Conceptualize Your Design: Begin with sketches or mental visualizations of the piece you want to create. Consider the type of pearl and the look, whether it be classic, modern, or avant-garde.
- Choose Your Pearls: Based on your design, select pearls that complement it. Keep in mind the types of pearls discussed earlier, like freshwater or Tahitian, and their attributes.
- Decide on a Layout: Plan the arrangement of pearls. Will they stand alone, or will you incorporate other beads or gemstones?
- Pick Complementary Materials: Choose clasps, spacer beads, or other embellishments that match your pearls and design concept.
- Select the Technique: Depending on the design, you might opt for stringing, knotting, or a weaving stitch. Refer back to the basic or advanced techniques outlined previously.
- Refine and Reiterate: It’s okay to make changes as you go. If a design doesn’t work as planned, adjust it. Your craftsmanship will improve with practice.
- Assemble with Care: Take your time to carefully put everything together, making sure each pearl is securely fastened and the entire piece is well-constructed.
Through designing your own pearl jewelry, you can create unique pieces that express your creativity. It also allows you to tailor jewelry to specific outfits or occasions. Remember the importance of quality and precision, and don’t be afraid to experiment with different pearl beading techniques as you develop your skills.
Finishing Touches: Caring for Pearl Beaded Jewelry
Proper care and maintenance are crucial to preserving the beauty and longevity of pearl beaded jewelry. Here are some essential tips to keep your creations in pristine condition:
Cleaning Your Pearl Jewelry
Always clean your pearl jewelry gently after wearing. Use a soft, damp cloth to wipe the surface. Avoid using harsh chemicals or abrasive cleaners as they can damage the pearls.
Storing Pearl Beaded Jewelry
Store your pearl jewelry separately from other jewelry pieces to prevent scratches. A soft pouch or a lined jewelry box is ideal. Keep them away from extreme temperatures and direct sunlight.
Handling with Care
Handle your pearl jewelry with clean hands to avoid transferring oils or dirt. Don’t pull or stretch the strands too hard while wearing or removing them.
Regular Check-Ups
Periodically check the threads or clasps for wear and tear. If the thread looks frail or the clasps loose, consider restringing or replacing them to prevent losing any pearls.
By following these guidelines, your pearl beaded jewelry will retain its elegance and shine for years to come. Treat them with care and they will continue to adorn your attire beautifully.