Introduction to Jewelry Making
Jewelry making is an art that allows for endless creativity and personal expression. But before unleashing your imagination with intricate designs and complex techniques, grasping the fundamentals—particularly in beading—is essential. In this introductory guide, we’ll explore the joys of basics beading as a crux of jewelry creation and why it’s so crucial to understand the basics. Whether you’re a hobbyist or aspiring to create professional-quality pieces, the skills you learn here will serve as a foundation for all your future jewelry projects.

Overview of Beading as a Creative Skill
Beading stands out as a versatile and rewarding skill. It’s accessible for beginners, yet has the depth for continued growth and mastery. This simplicity, combined with the vast array of beads available, makes beading an ideal starting point for anyone interested in jewelry making. As you learn to select materials, use tools, and implement techniques, you’ll be able to craft unique and beautiful pieces all by yourself.
Importance of Mastering Basic Beading Techniques
For beginners, mastering the basics of beading can greatly enhance the quality and durability of your jewelry pieces. Learning fundamental techniques such as bead stringing and making simple wire loops is essential. Not only do these techniques serve as the building blocks for more advanced work, but they also ensure that your creations are as visually appealing as they are structurally sound. As you progress, incorporating new methods and experimenting with different materials will elevate your prowess and enable you to tackle more complex designs with confidence.
Essential Tools for Beading
Beading needs specific tools for top-notch results. From stringing beads to finalizing designs, the right tools make a big difference.
Selecting the Right Beading Tools
Choosing beading tools is key. Look for quality over quantity. Good tools make beading easier and more fun. They help produce professional-looking pieces. Basic tools for beading include wire cutters, pliers, and beading needles. High-quality tools last longer and perform better.
Must-Have Items in Your Beading Kit
A well-equipped beading kit is your best ally. Here’s a list of must-haves:
- Round-nose pliers: For creating loops in wire.
- Flat-nose pliers: To grip and straighten wire.
- Wire cutters: To cleanly cut wires and headpins.
- Bead board: To lay out and organize beads.
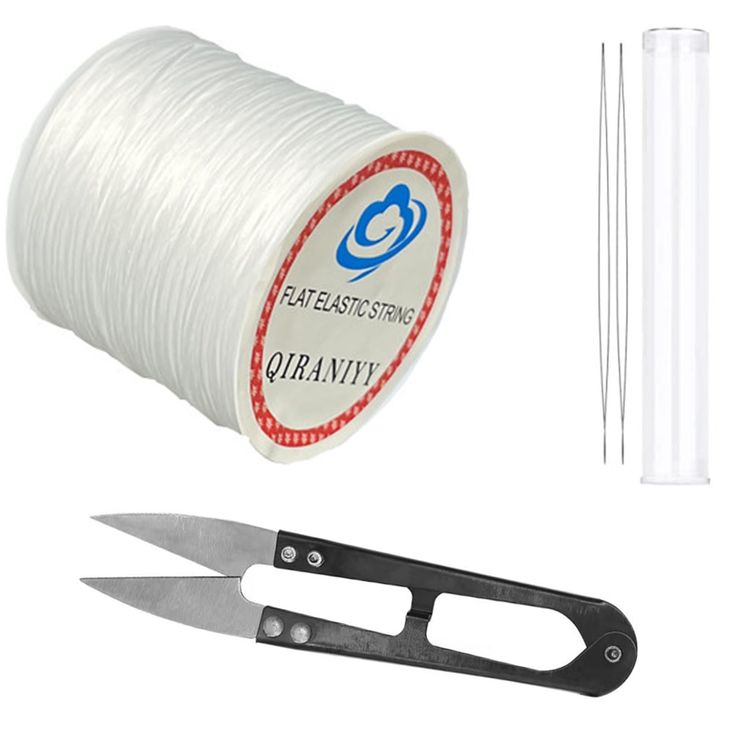
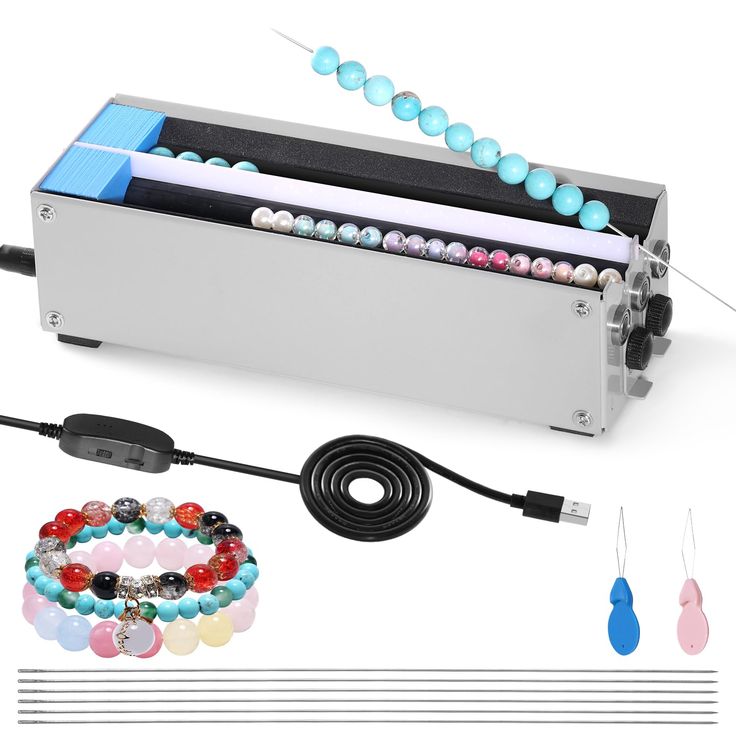
- Beading needles: For bead stringing with thread.
- Bead mat: To prevent beads from rolling away.
- Thread and wire: For stringing beads together.
- Crimp beads and a crimp tool: To secure closures.
- Scissors: For cutting stringing materials.
- Assorted clasps and findings: To finish jewelry pieces.
- Adhesive or glue: To secure knots in your projects.
Gather these items before starting any beading project. They’re the basics for creating various beaded items, from bracelets to necklaces, even as a beginner.

Bead Selection for Beginners
Selecting the right beads is a key step in starting your jewelry making journey. Understanding bead sizes and choosing the right materials and colors can make all the difference. Let’s dive into how to choose beads that will work best for your initial projects.
Understanding Different Bead Sizes
Beads come in many sizes, measured in millimeters (mm). Large beads, around 10 mm to 14 mm, suit bold designs. Medium beads, 6 mm to 8 mm, are versatile for necklaces and bracelets. Small beads, 3 mm to 4 mm, work well as accents beside larger beads. For beginners, start with 4 mm, 6 mm, and 8 mm beads. They are easier to handle and fit many designs.
Choosing Bead Materials and Colors
Beads are made from various materials. Glass, wood, and plastic beads are affordable and good for practice. For elegance, try pearls or semi-precious stones. Think about your project’s style. Then pick bead materials that match it. Colors are important too. Choose a color scheme that fits the look you’re going for. Neutral colors are a safe start. They match many designs and styles. As you get more comfortable, experiment with vibrant colors and patterns.
Fundamental Beading Techniques
To create beautiful jewelry, certain fundamental beading techniques are vital to master. Aspiring jewelers need to grasp these methods to ensure their creations are not only appealing but also strong and durable. Let’s explore three essential techniques: bead stringing, making simple wire loops, and working with beading wire, crimps, and clasps.
Bead Stringing Method
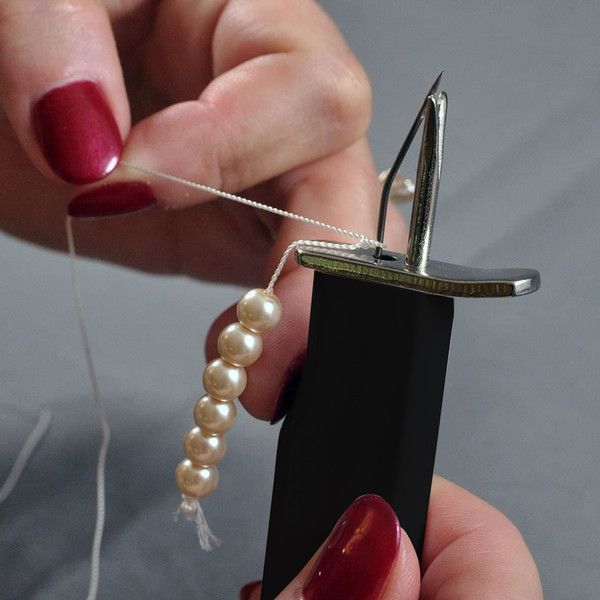
Bead stringing is a core skill in jewelry making. It involves threading beads onto a string or wire. It’s ideal for making bracelets, necklaces, and more. Start by choosing the right string material for your beads. Then, learn to secure your design with knots or clasps. This method is great for beginners. It requires minimal tools and offers a lot of creative freedom.
Making Simple Wire Loops
Wire loops are a key element in connecting parts of jewelry. They are used to attach beads to earring hooks or chains. Making simple wire loops involves bending wire into loops with pliers. It’s a basic skill but very essential. Once you learn this, you can add beads to a variety of jewelry settings.
Working with Beading Wire, Crimps, and Clasps
For more durable pieces, using beading wire with crimps and clasps is the way to go. This method is great for designs that need to bear more weight. Beading wire is strong. It can hold a lot of beads without breaking. Use crimp beads to attach clasps securely to your wire. This technique adds professionalism to your work. It makes your jewelry last longer and look more refined.

Step-by-Step Guide to Your First Beading Project
Starting your first beading project can be exciting. Take it step by step and soon you’ll have a handmade piece of jewelry to show off. Here are some tips and techniques to help you along the way.
Tips for Planning Your Beading Design
Before you dive into beading, plan your project. Choose a simple design to start. Pick a color scheme and bead sizes. Draw your design on paper. Lay out your beads in order. This helps you see the final look before you string the beads. Double-check your tool kit to make sure you have everything you need.
Stringing Beads and Finishing Touches
Stringing is the basic beading skill. Cut your string longer than your final piece. Leave extra for knots or clasps. Start by securing one end with a stop bead or knot. String the beads following your design. Check the fit as you go along. When done, tie off the end with a secure knot or add a clasp. Add a dab of glue on knots for extra strength. Snip off any excess material.
Practical Wirework for Structured Pieces
Wirework adds structure to your jewelry. It’s good for pieces that need to keep a shape. Choose the right wire for your project. Cut the wire longer than your needed length. Create loops with pliers to start and finish. Bead the wire according to your design. End with a final loop. If needed, attach a clasp to secure your jewelry. With these tips, you’re ready to take on your first beading project. Enjoy the process and be proud of what you create.
Bead Stringing Projects for Beginners
Bead stringing projects are perfect for beginners to start their jewelry-making journey. With simple tools and techniques, you can create stunning pieces with your own hands. Here are a few projects to try out as you learn the basics of beading.
Easy-to-Make Stretch Bracelet Ideas
Starting with stretch bracelets is a great way to dive into beading. They are simple and don’t require clasps. Here’s how to make one:
- Choose stretch cord and your favorite beads.
- Cut the cord to your wrist size plus extra for tying.
- String the beads onto the cord in your chosen pattern.
- Tie the ends with a strong knot and add a touch of glue for security.
- Trim the excess cord and enjoy your new bracelet.
Creating Memory Wire Bracelets and Necklaces
Memory wire keeps its shape, making it excellent for beginners. Here’s what to do:
- Get memory wire and tools like cutters and round-nose pliers.
- Cut a loop of wire to desired length.
- Create a loop at one end to hold the beads on.
- Add beads until you have about a half inch of wire left.
- Finish by creating another loop at the other end.
Your memory wire piece won’t need a clasp and is easy to wear.
Designing with Beading Wire for Durability
If you want your jewelry to last, use beading wire. It’s durable and strong. Try this simple approach:
- Pick beading wire, crimp beads, and a clasp.
- Cut a piece of wire longer than your necklace or bracelet.
- Secure one end to the clasp with a crimp bead.
- String your beads in the design you’ve planned.
- Attach the other end of the wire to the clasp with another crimp bead.
By using beading wire, your creations will endure regular wear better.
Resources and Learning Aids
To grow your beading skills, look for different learning aids and resources.
Instructional Beading Videos and Tutorials
Instructional videos are valuable for picking up beading techniques. Look for series tailored to beginners. They show how to handle tools and basic skills like opening and closing jump rings and making simple wire loops. Watch videos that step through projects from start to finish.
Online Classes and Tutorials for Continued Learning
Online classes offer deeper learning. They cover basics beading skills and more. You can find courses for all levels. Classes often include live sessions with experts. They provide feedback and answer your questions. Websites like Beadaholique have tutorials and exclusive kits for beginners. Keep practicing and soon, you’ll be making jewelry like a pro.
Next Steps in Jewelry Making
Now that you’ve grasped basic beading techniques, it’s time to expand your skills.
Expanding Skill Set with Advanced Techniques
To grow as a jewelry maker, learn advanced techniques. Practice makes perfect. Move beyond the basics to include:
- Ladder Stitch: Perfect for creating woven bracelet bands.
- Peyote Stitch: Ideal for intricate patterns and textures in your designs.
- Right-angle Weave: Creates a flexible and soft fabric-like beadwork.
- Herringbone Stitch: Offers a twill pattern that’s visually striking.
Explore each technique with dedication. Soon, you’ll add complexity and elegance to your jewelry.
Exploring Beading Project Ideas and Inspirations
Finding new project ideas keeps beading fresh and enjoyable. Here’s how to stay inspired:
- Search for patterns online to try new designs.
- Mix different bead sizes and colors for unique looks.
- Revisit our resources section for video tutorials on new projects.
- Check out jewelry kits with all supplies included for convenience.
Let creativity guide you. Your beaded creations will become more intricate and impressive.